• In case you’ve been waiting for an update, I apologize for the delay! Let’s dive into the numbers.

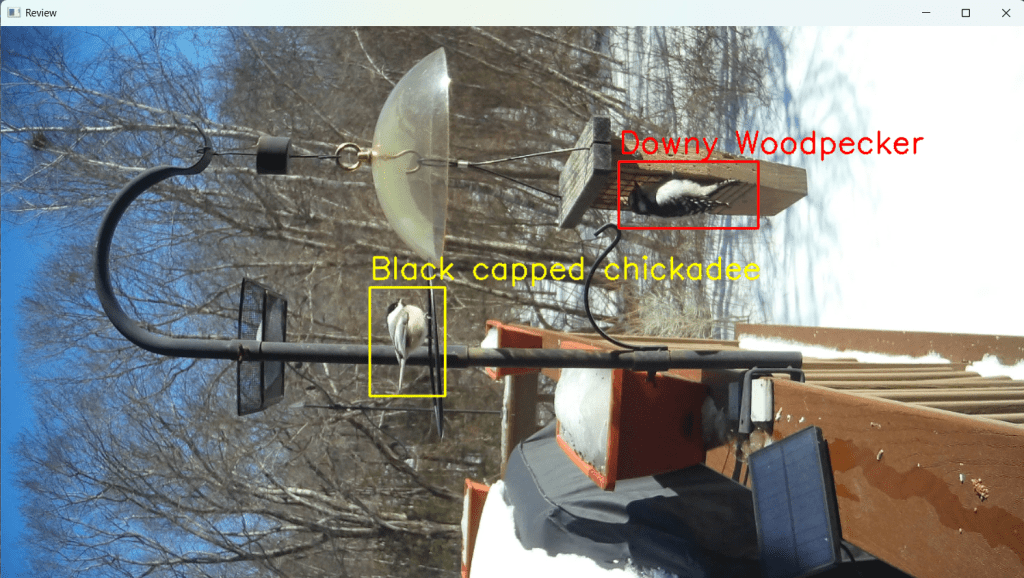
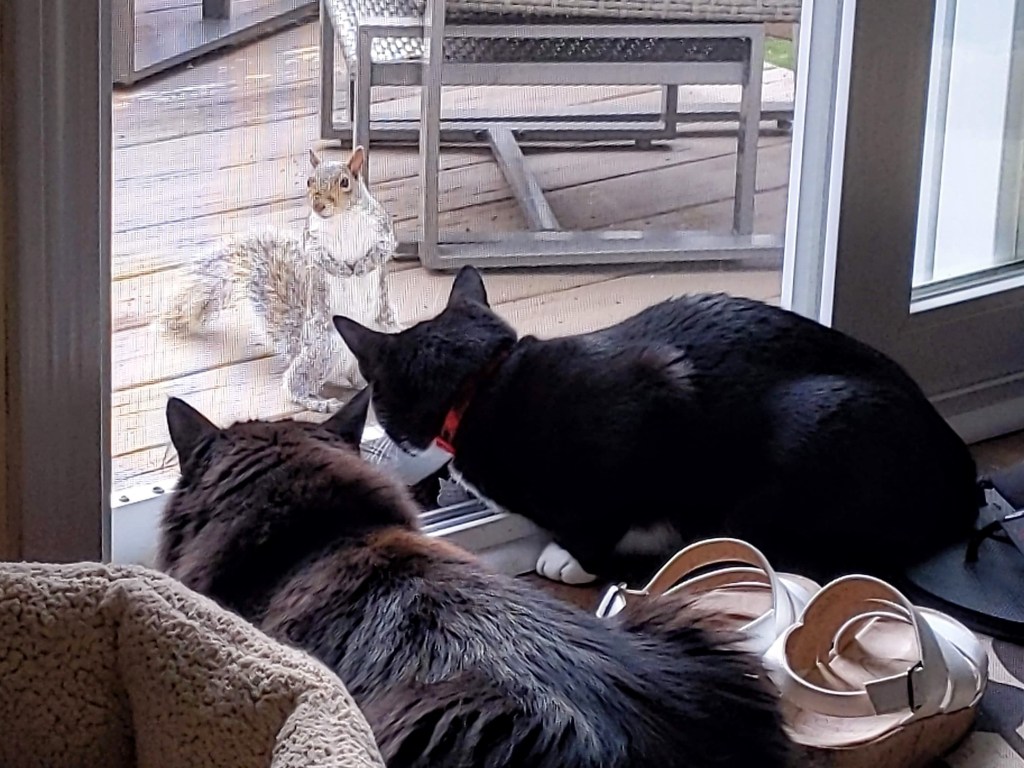
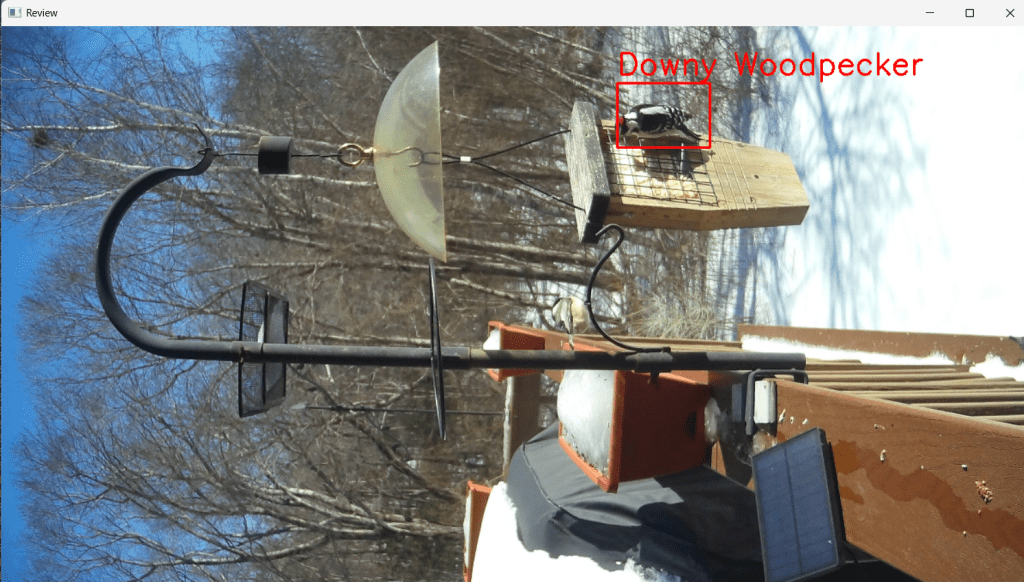
    At the time of writing, I’ve used my custom detection and classification pipeline to go through 115 images, identifying 202 birds (a category which now includes squirrels 😅). Of these, 45% were correctly detected. There were 25 false detections – these were often multiple boxes for the same bird or boxes that only partially selected the bird. I accepted 92 classifications, which is also about 45%.

    Breakdown of identification accuracy by label. Confidence values varied widely, providing some hints of where I need to improve the training data and model.

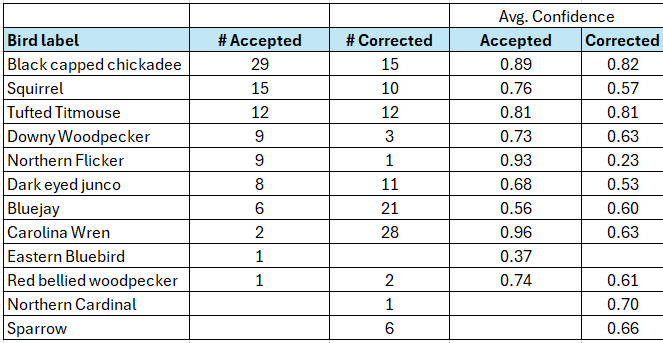
    I’m especially happy with how well it identified Black-capped chickadees, Downy woodpeckers, Northern flickers and squirrels (to be fair they are pretty distinct). On the flip side, in the messy space of “small brown birds” the model struggles just as much as I do.

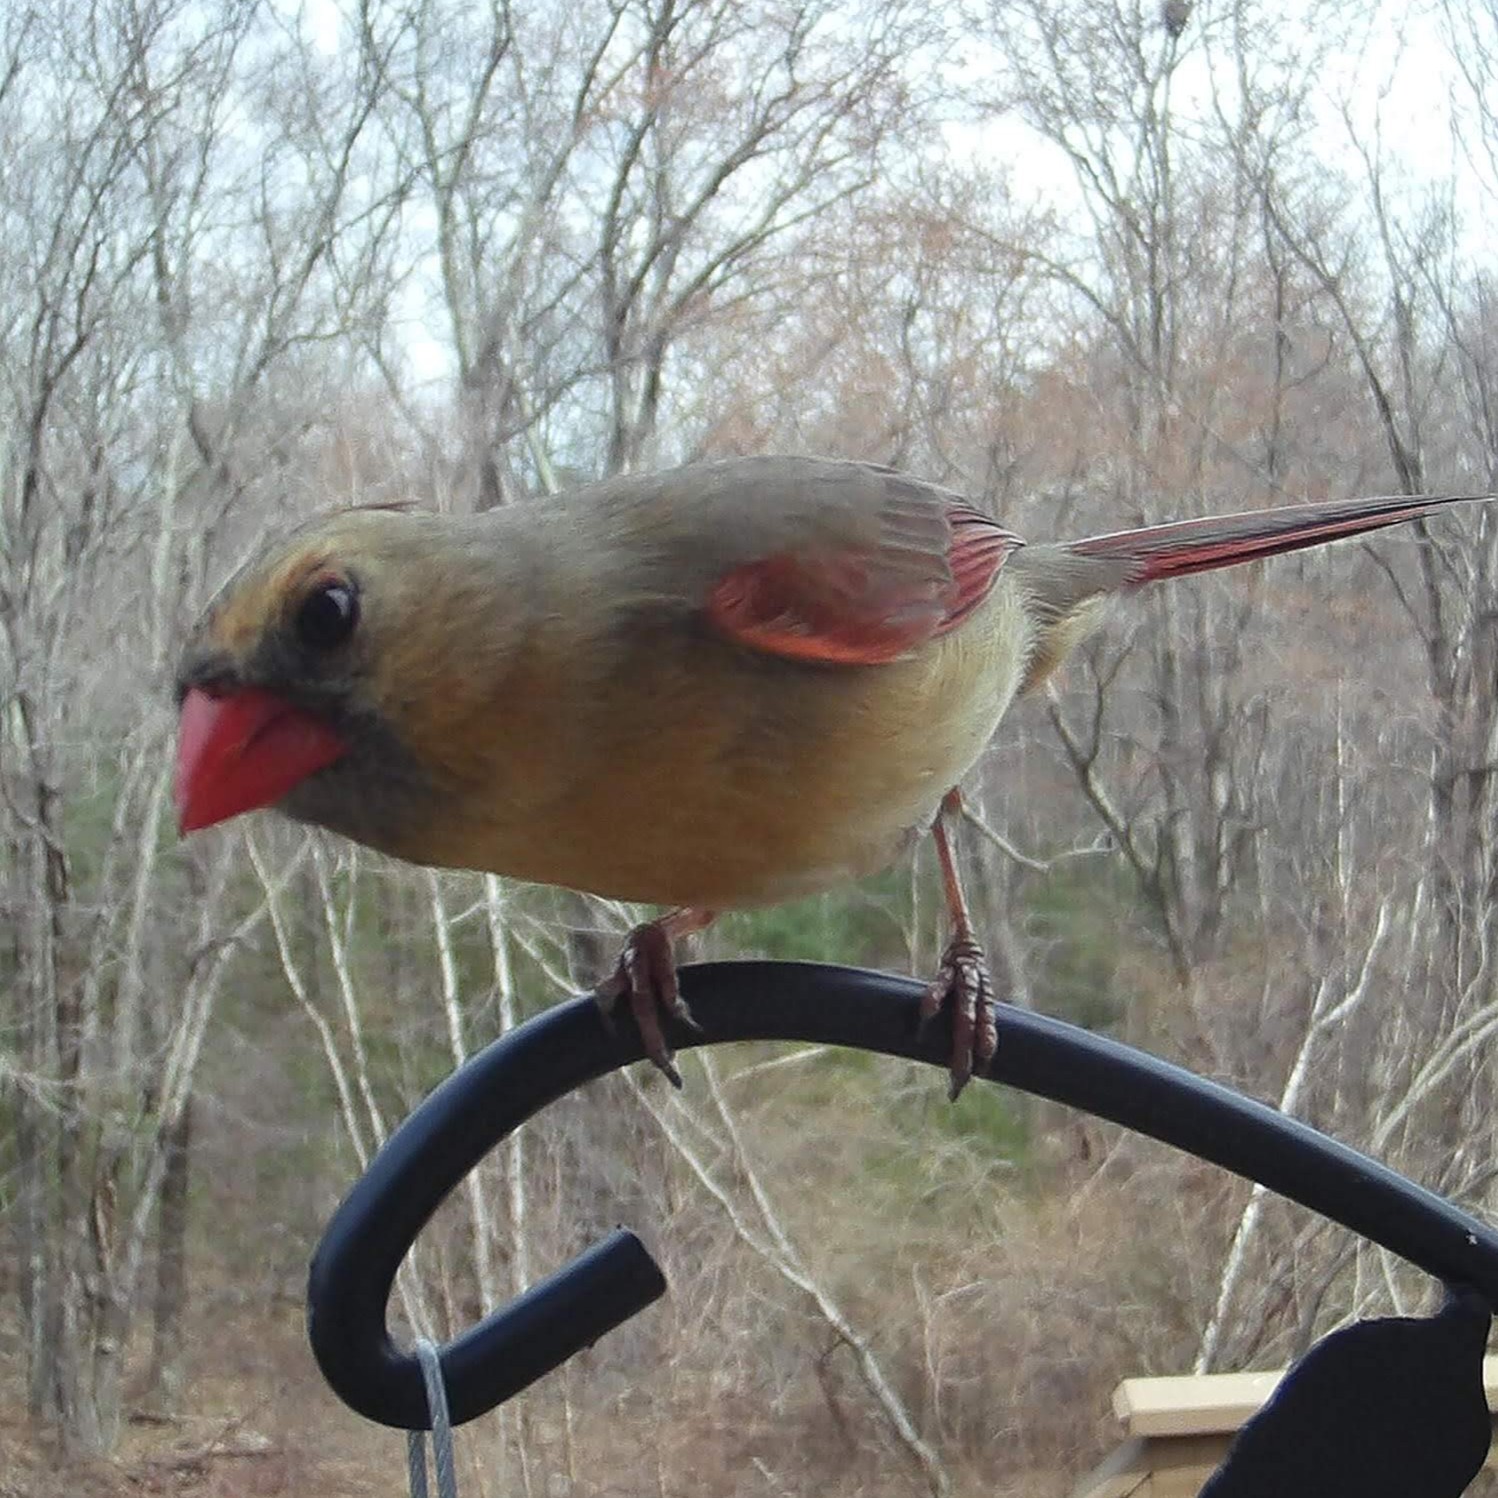
    The obvious next step is to use refine both detection and classification models with the new training data. I might also add the ability to distinguish between male and female birds – especially when they look significantly different from each other, such as Northern Cardinals, Downy woodpeckers and House Finches. It would be a good time to experiment with different starting models to see how they perform. Does one need less training data, or is one faster to train or more accurate?

    I had created a table that showed me how often different birds appeared each month – but it was heavily skewed by how often I pulled images from the camera and which birdfood was on offer. Perhaps first and last observation dates for migratory birds might be more useful, or identifying times of day when certain birds are more active than others.

    For now, I’m calling this phase of the project complete. I learned a bunch about machine-learning and “vibe-coding” and also accomplished my original goal of reducing the time I spend sorting through trail camera images.

    If you have feedback, or ideas for where to take this next, or want to set up something similar – I’d love to hear from you.

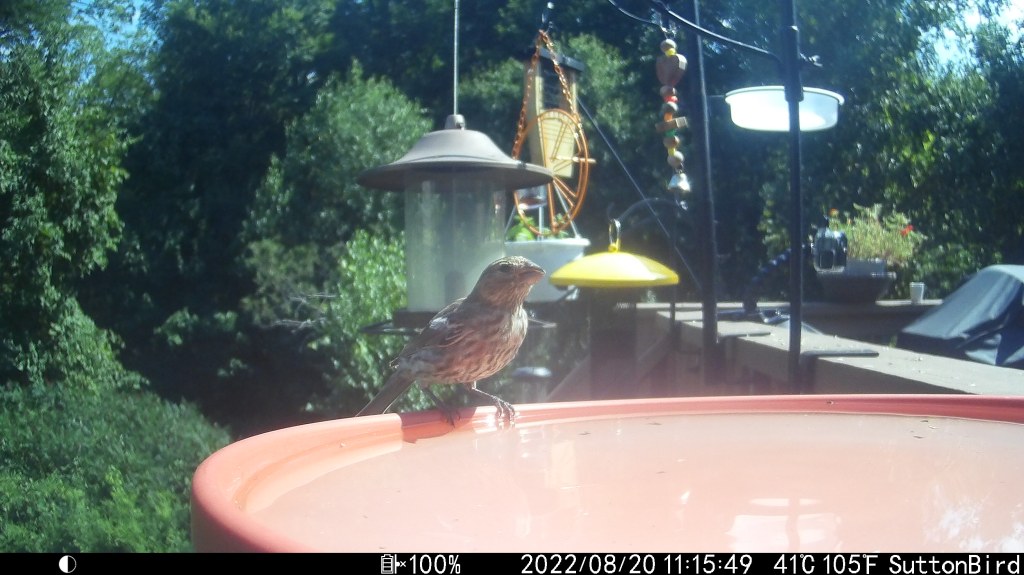
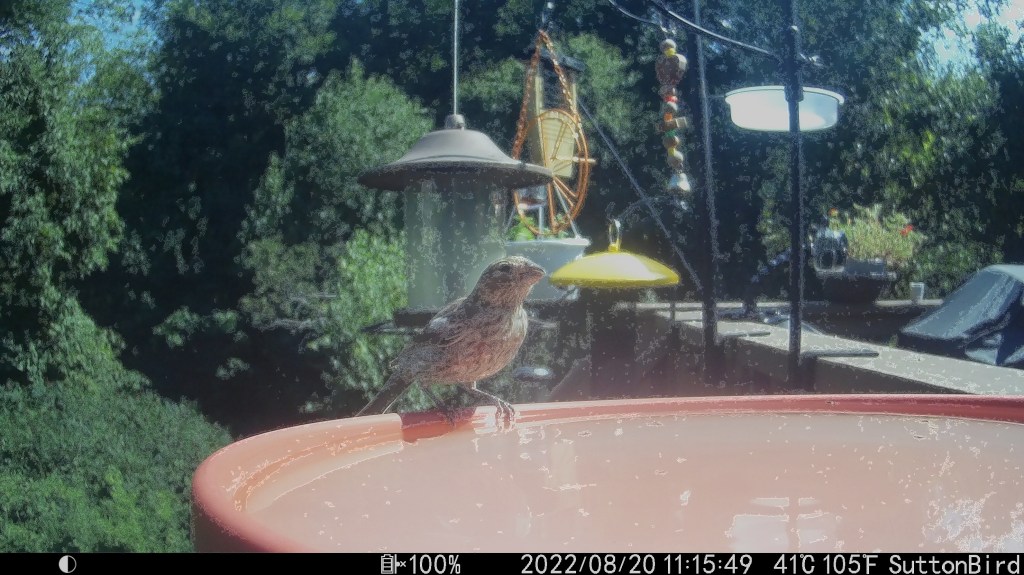
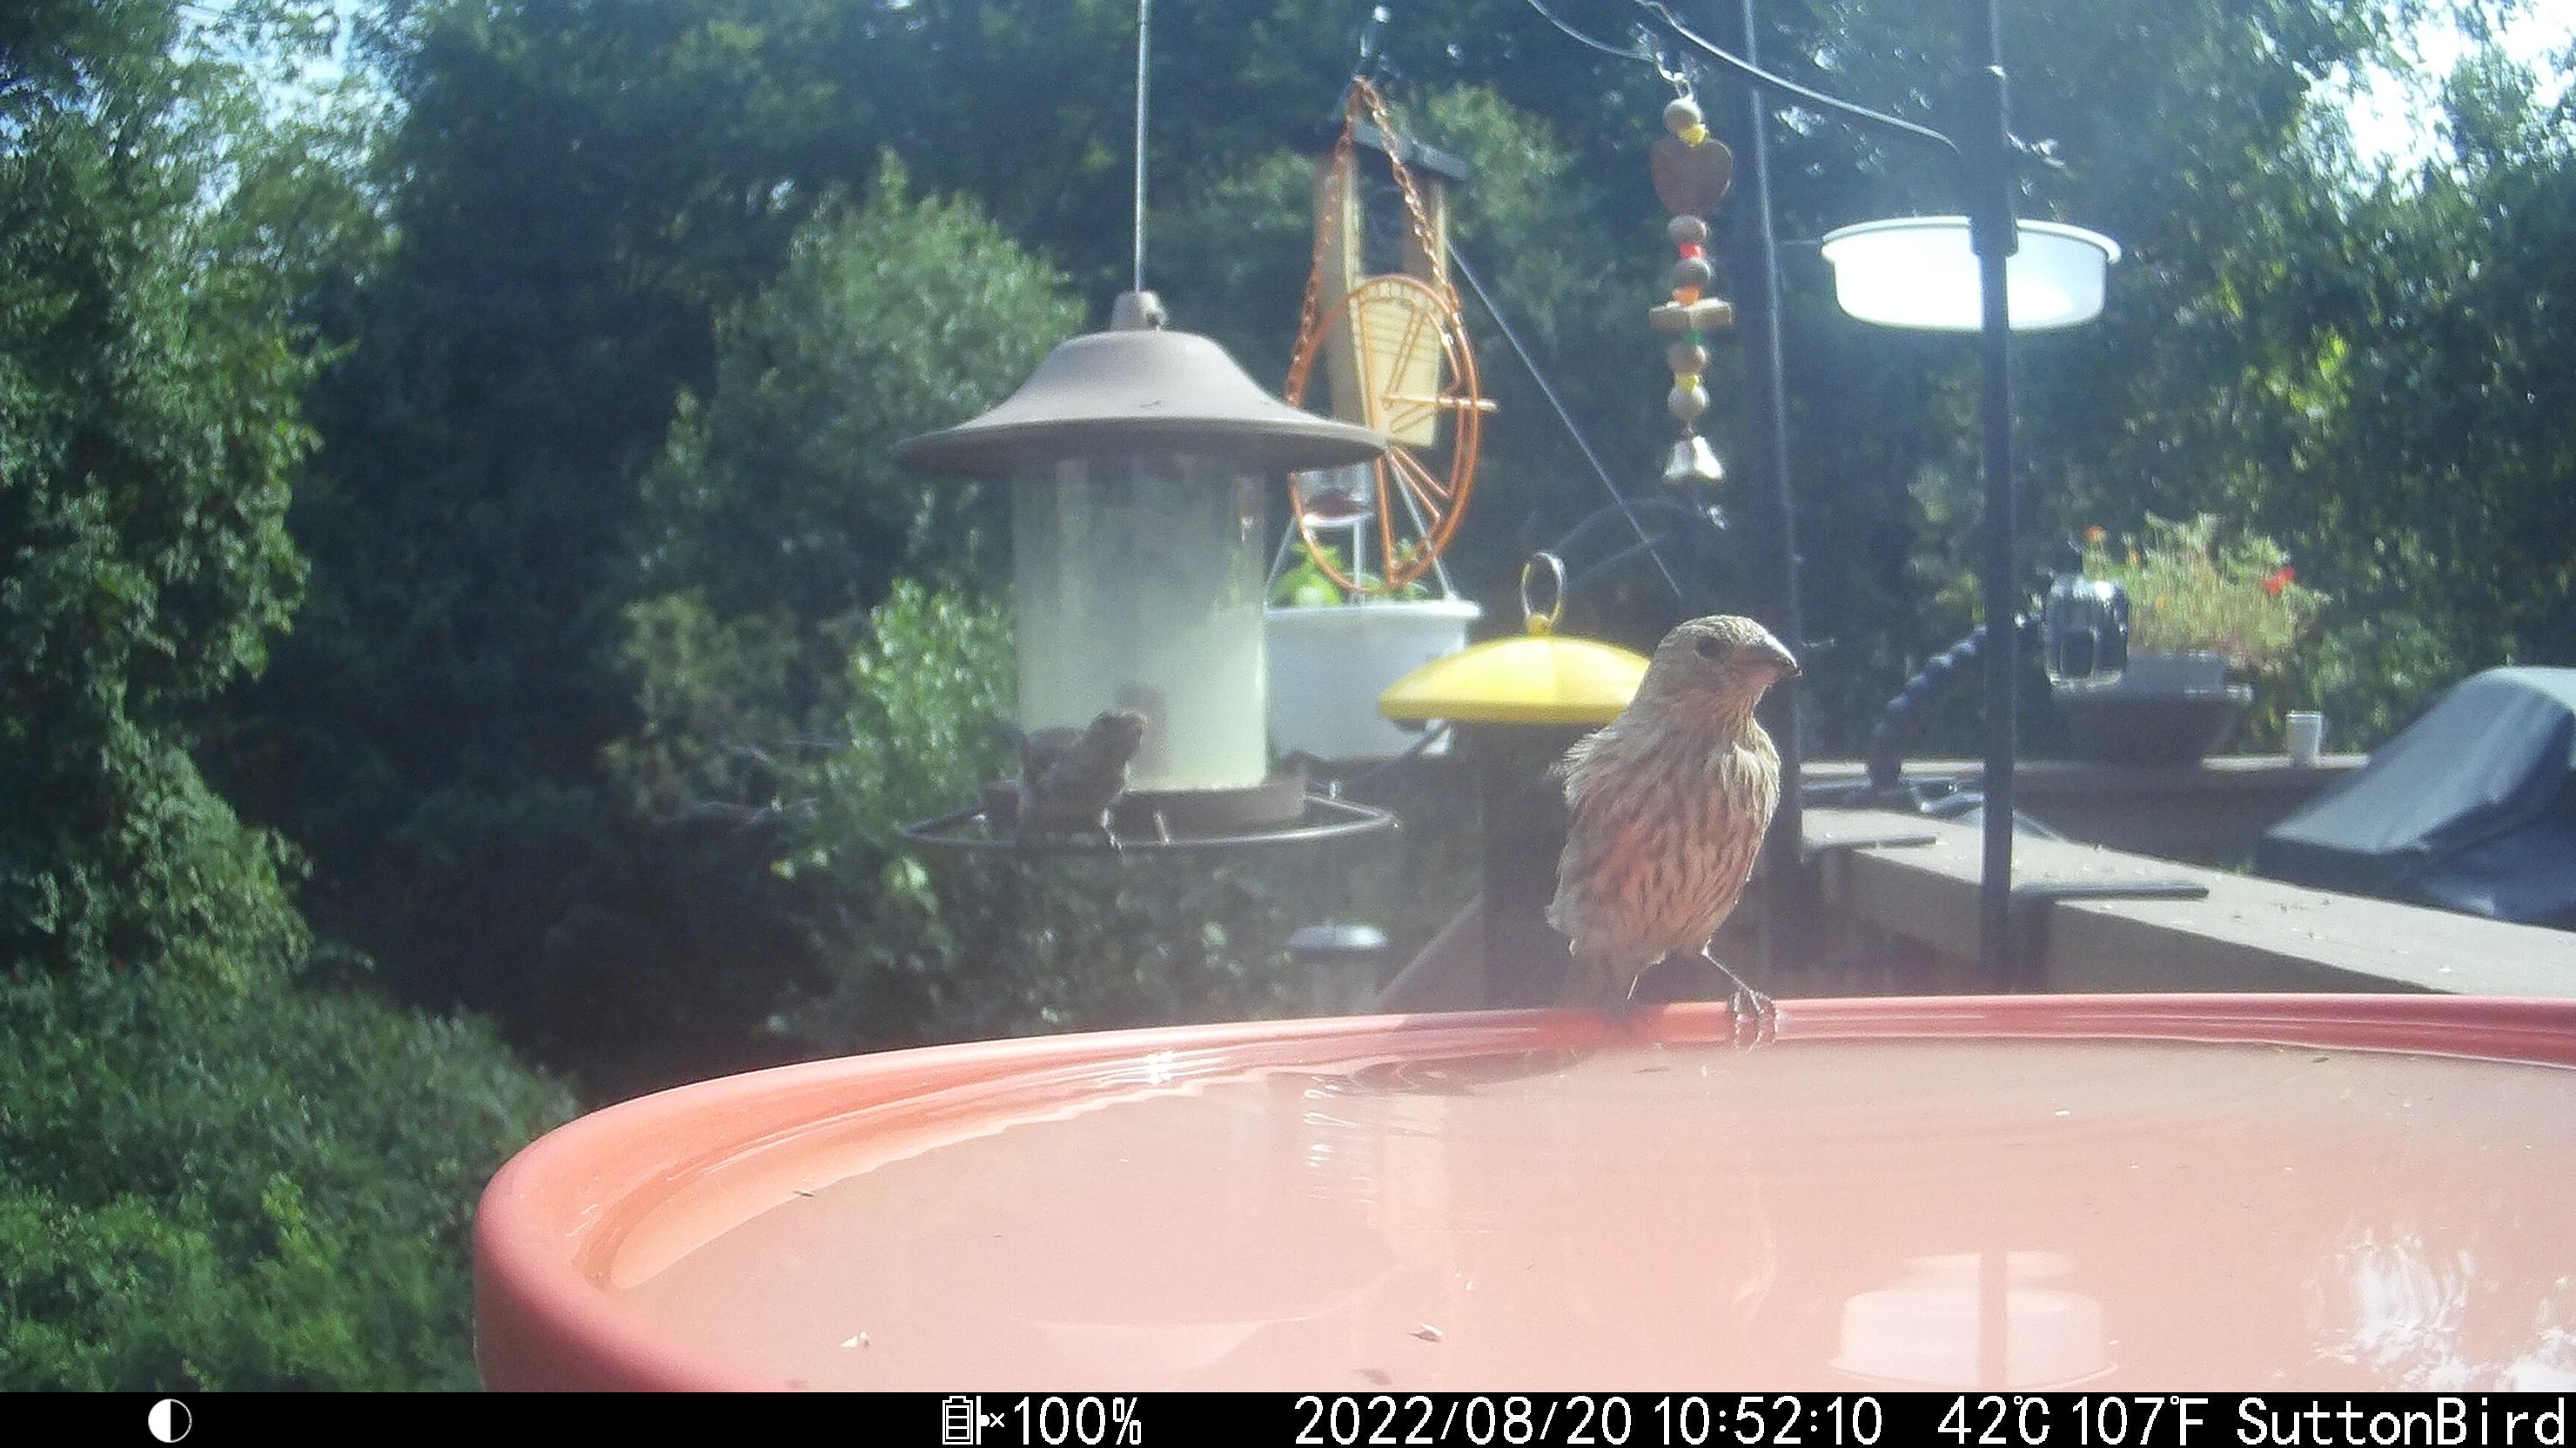
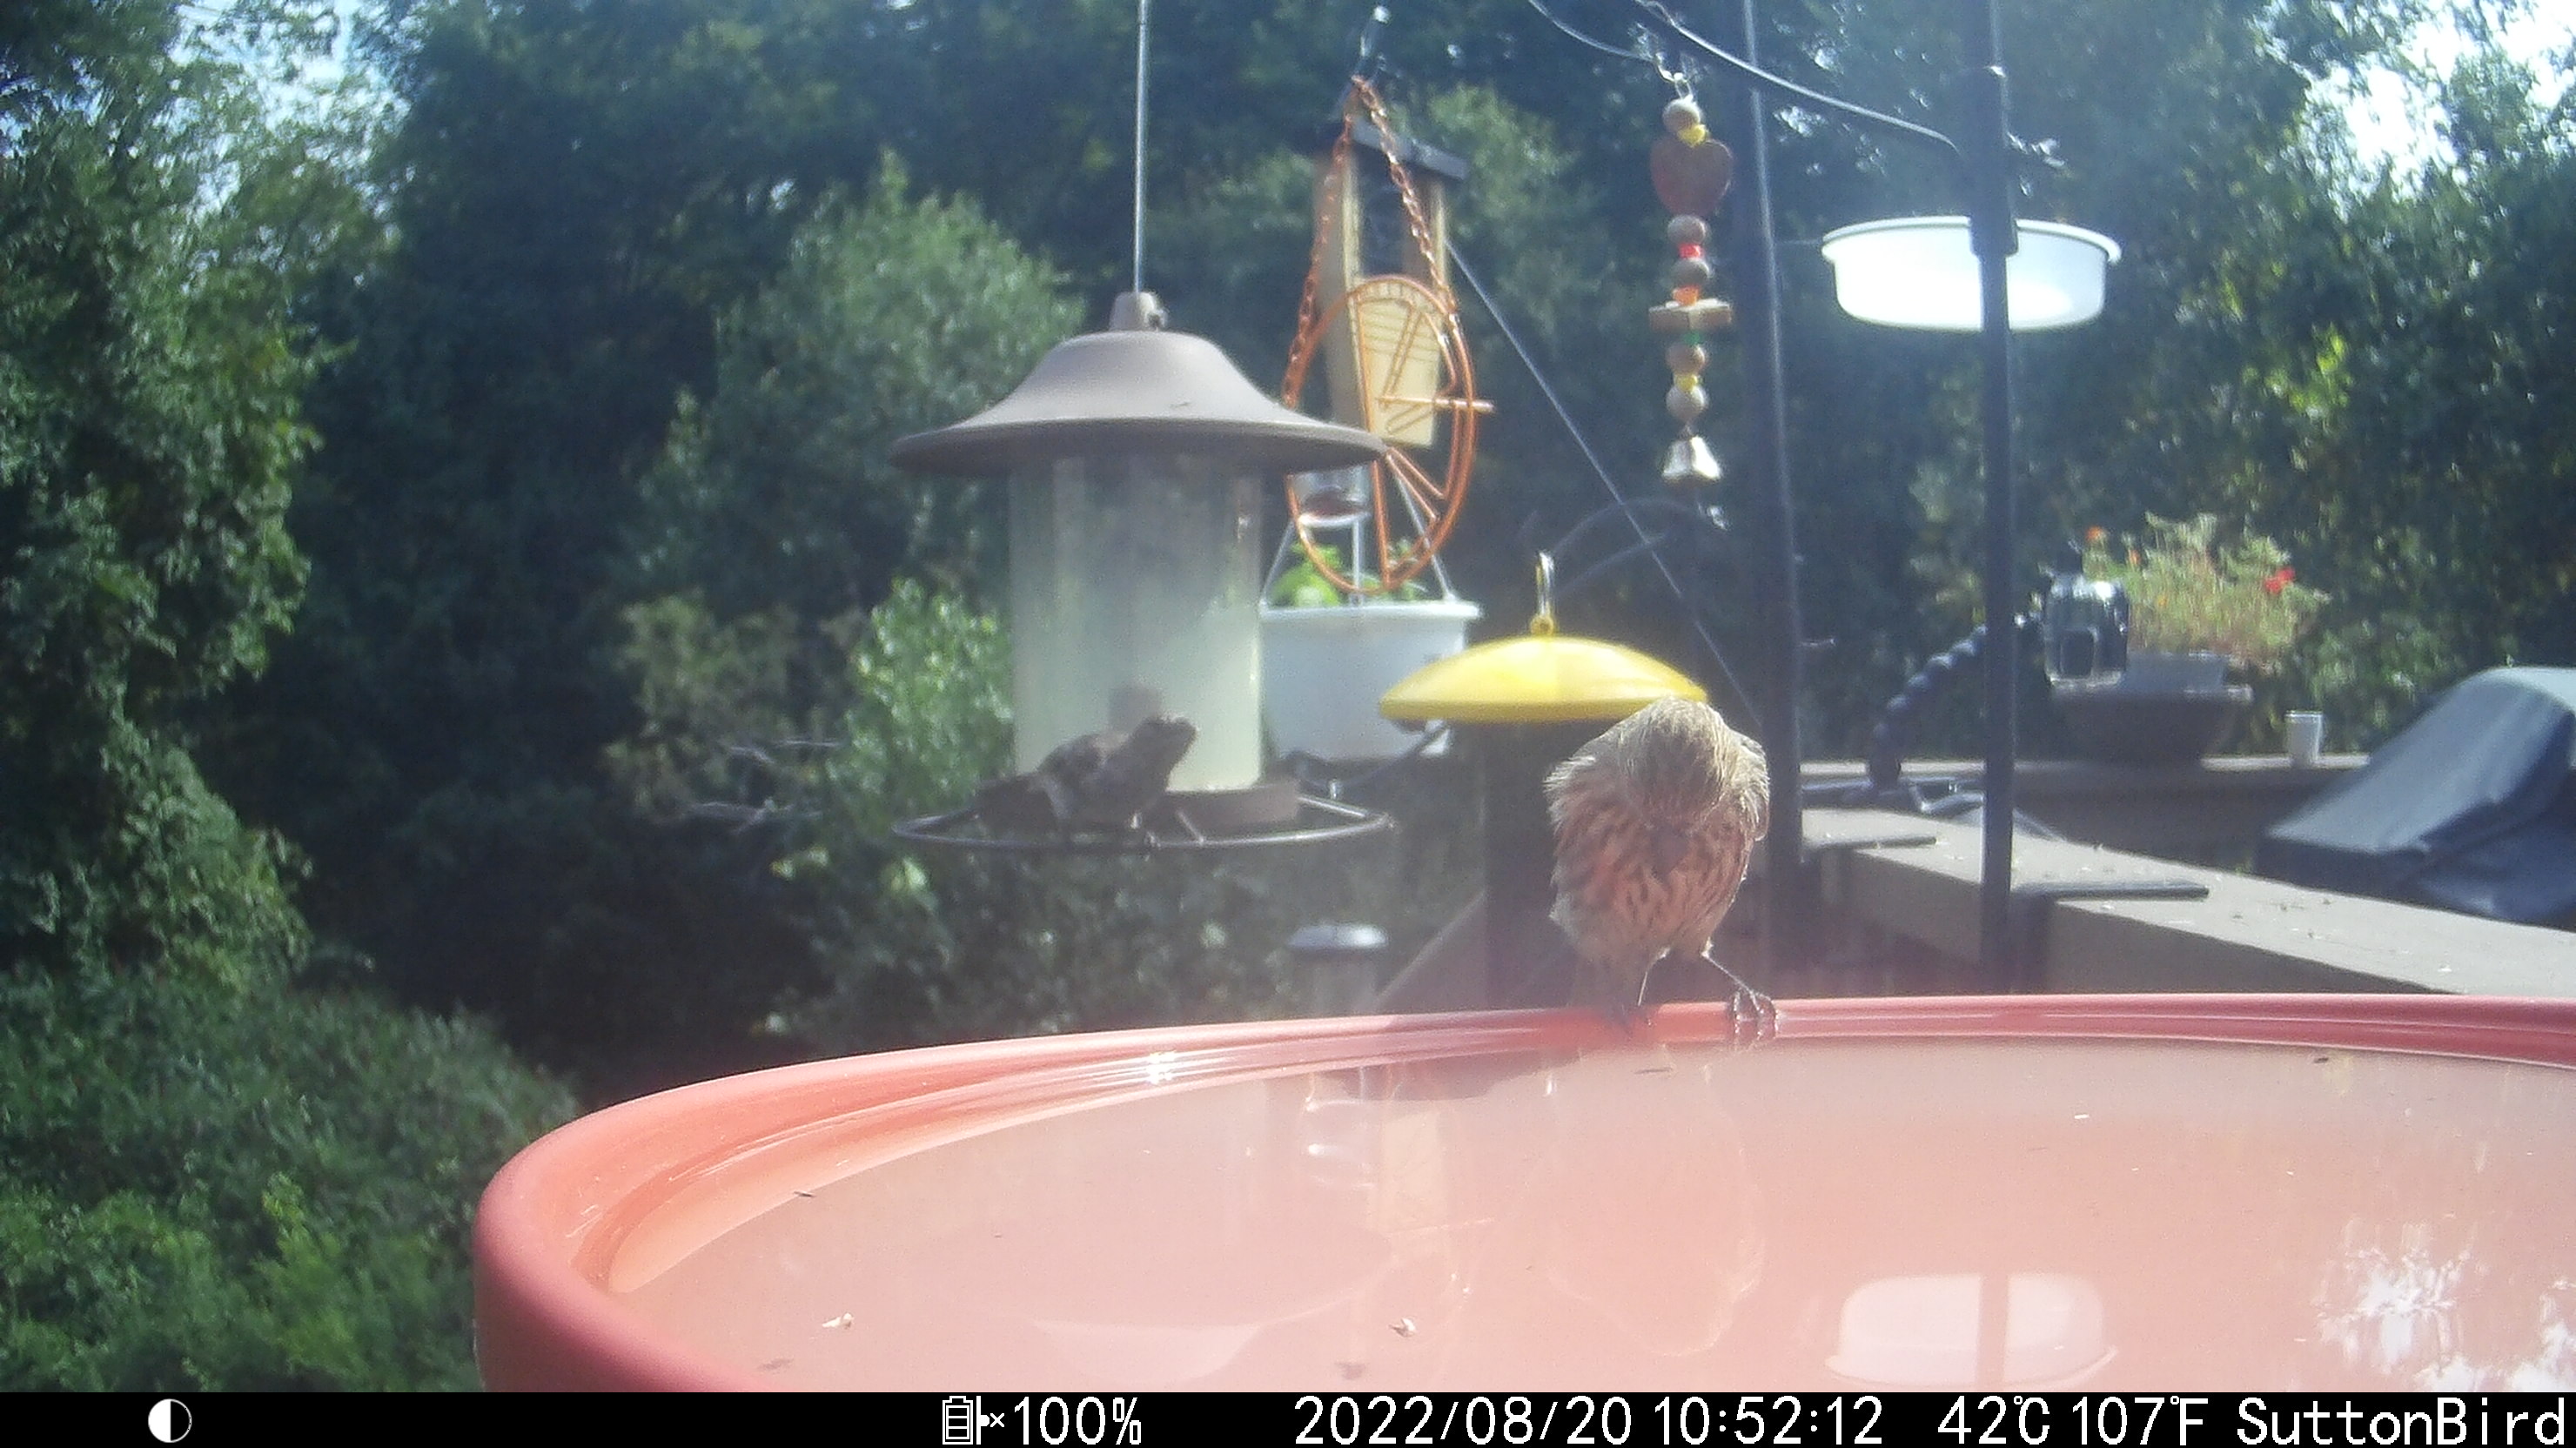
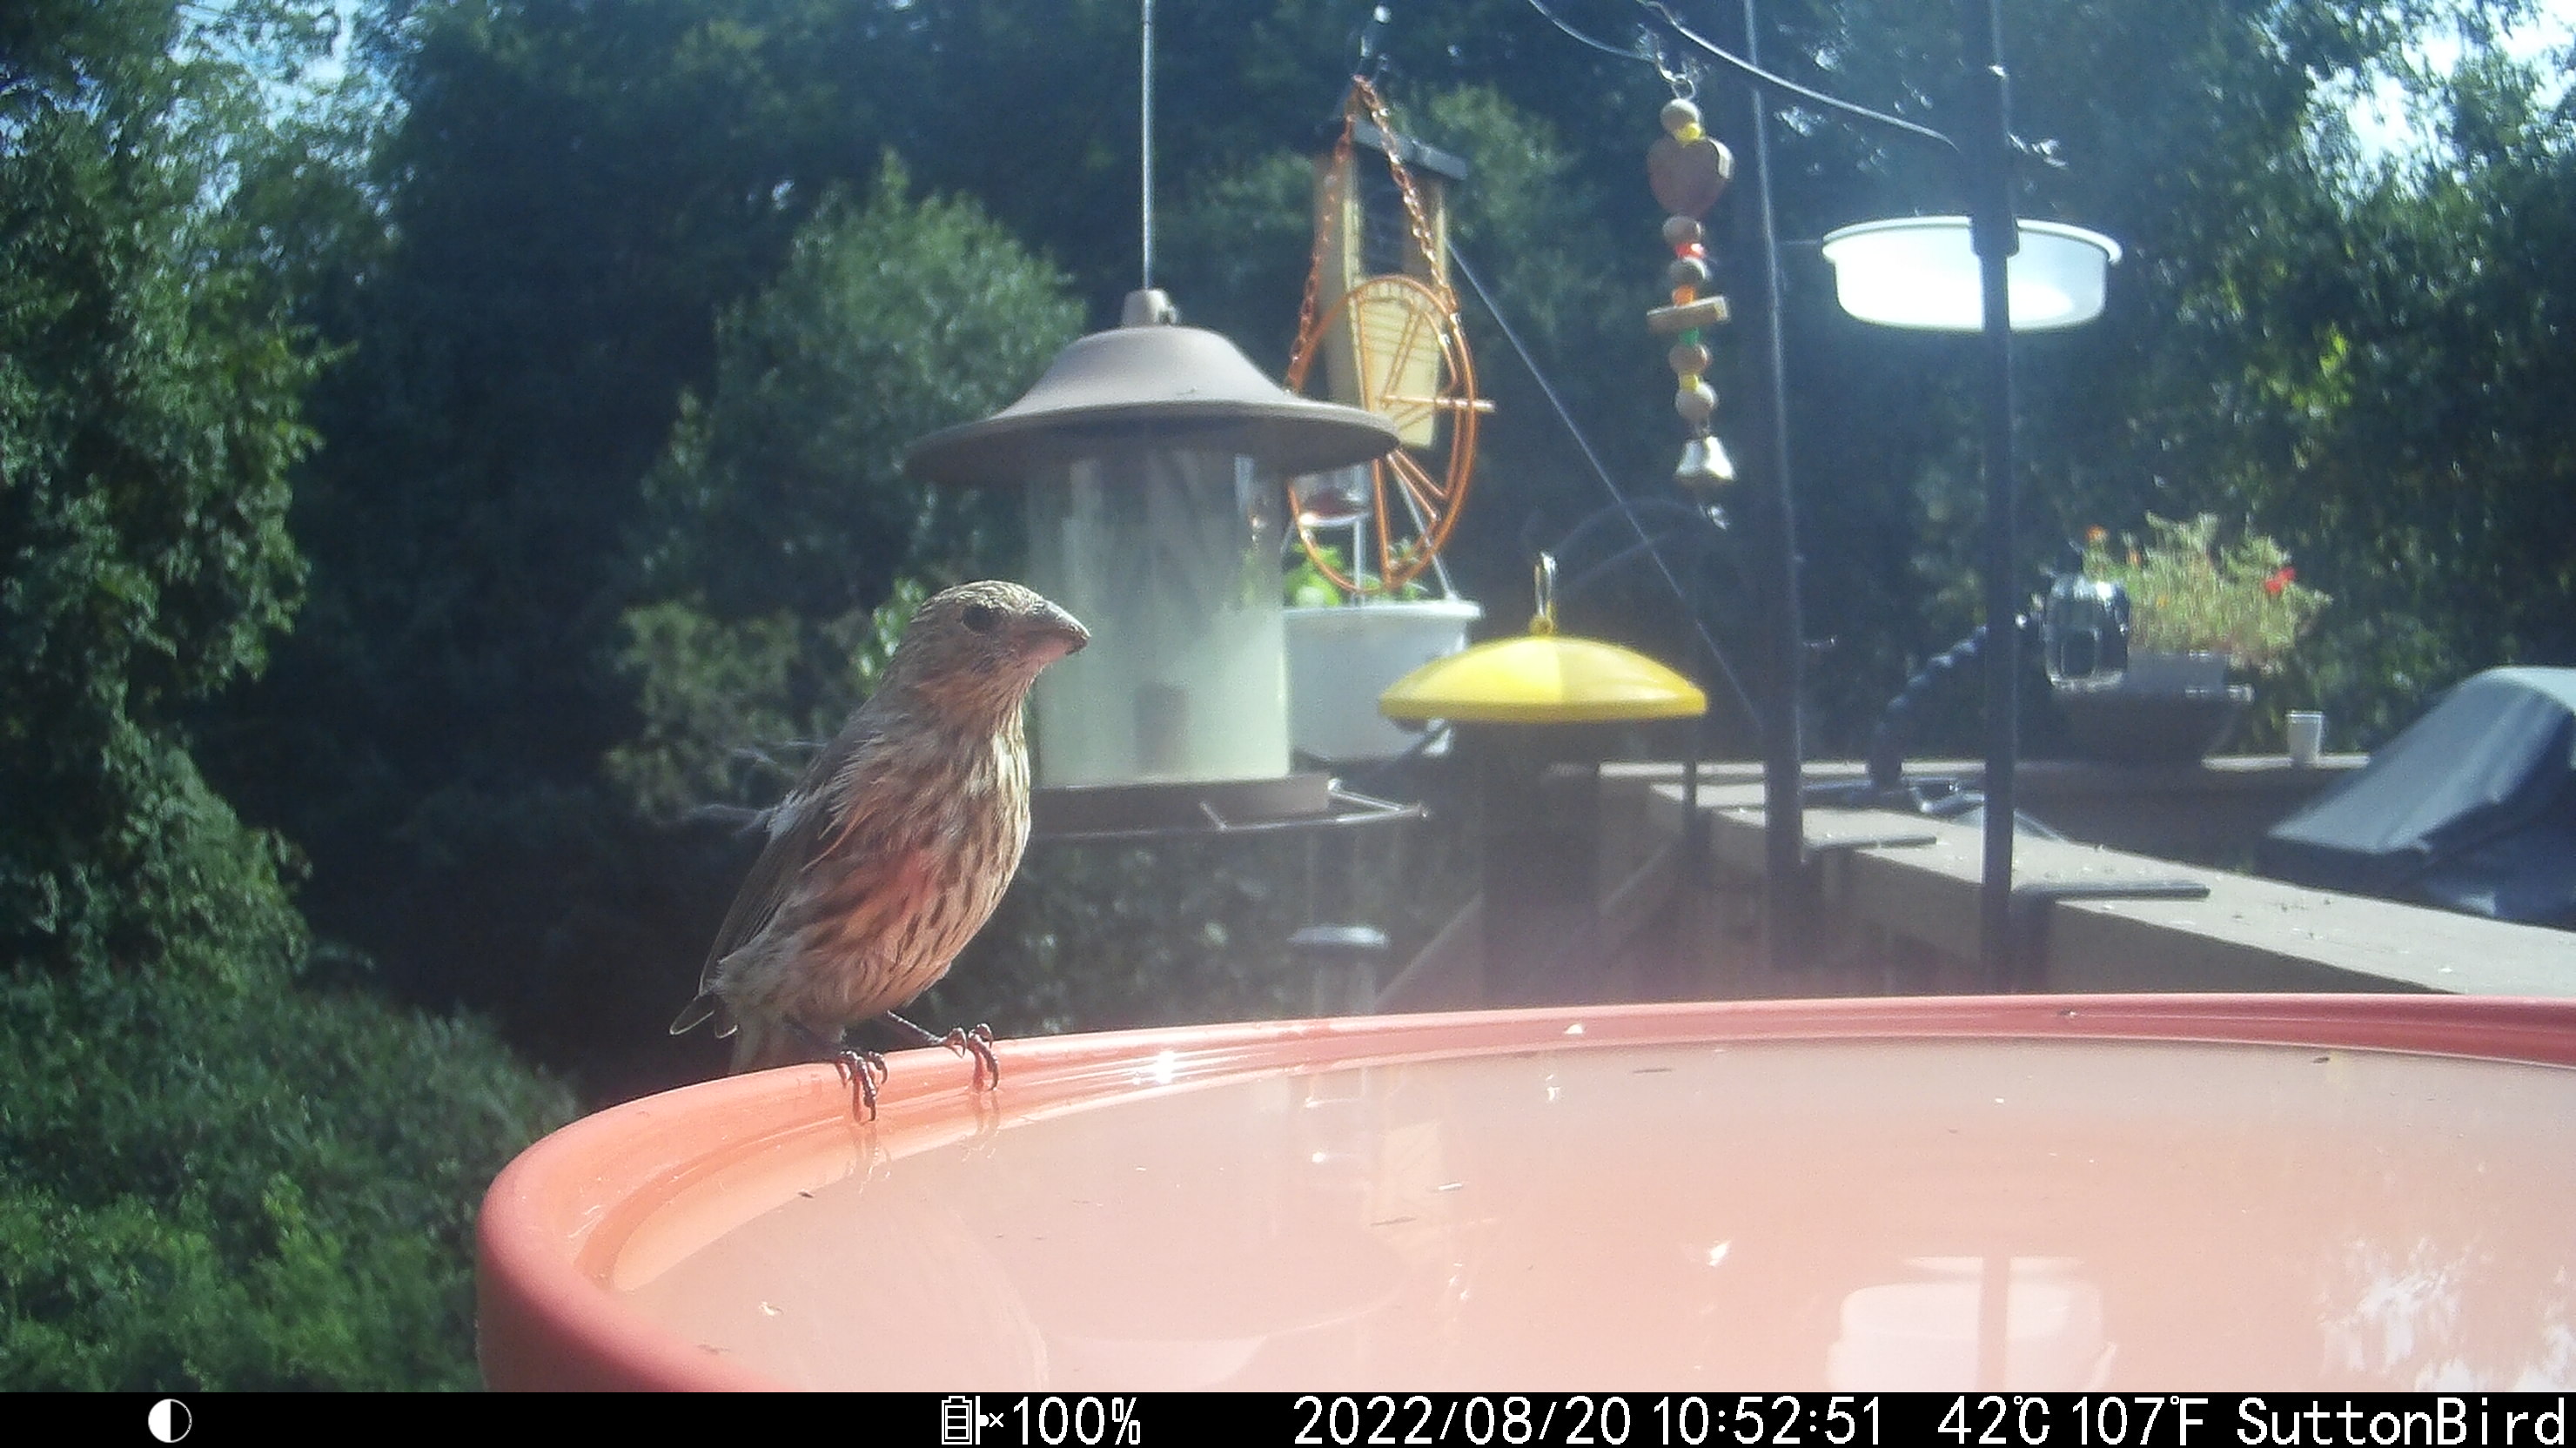
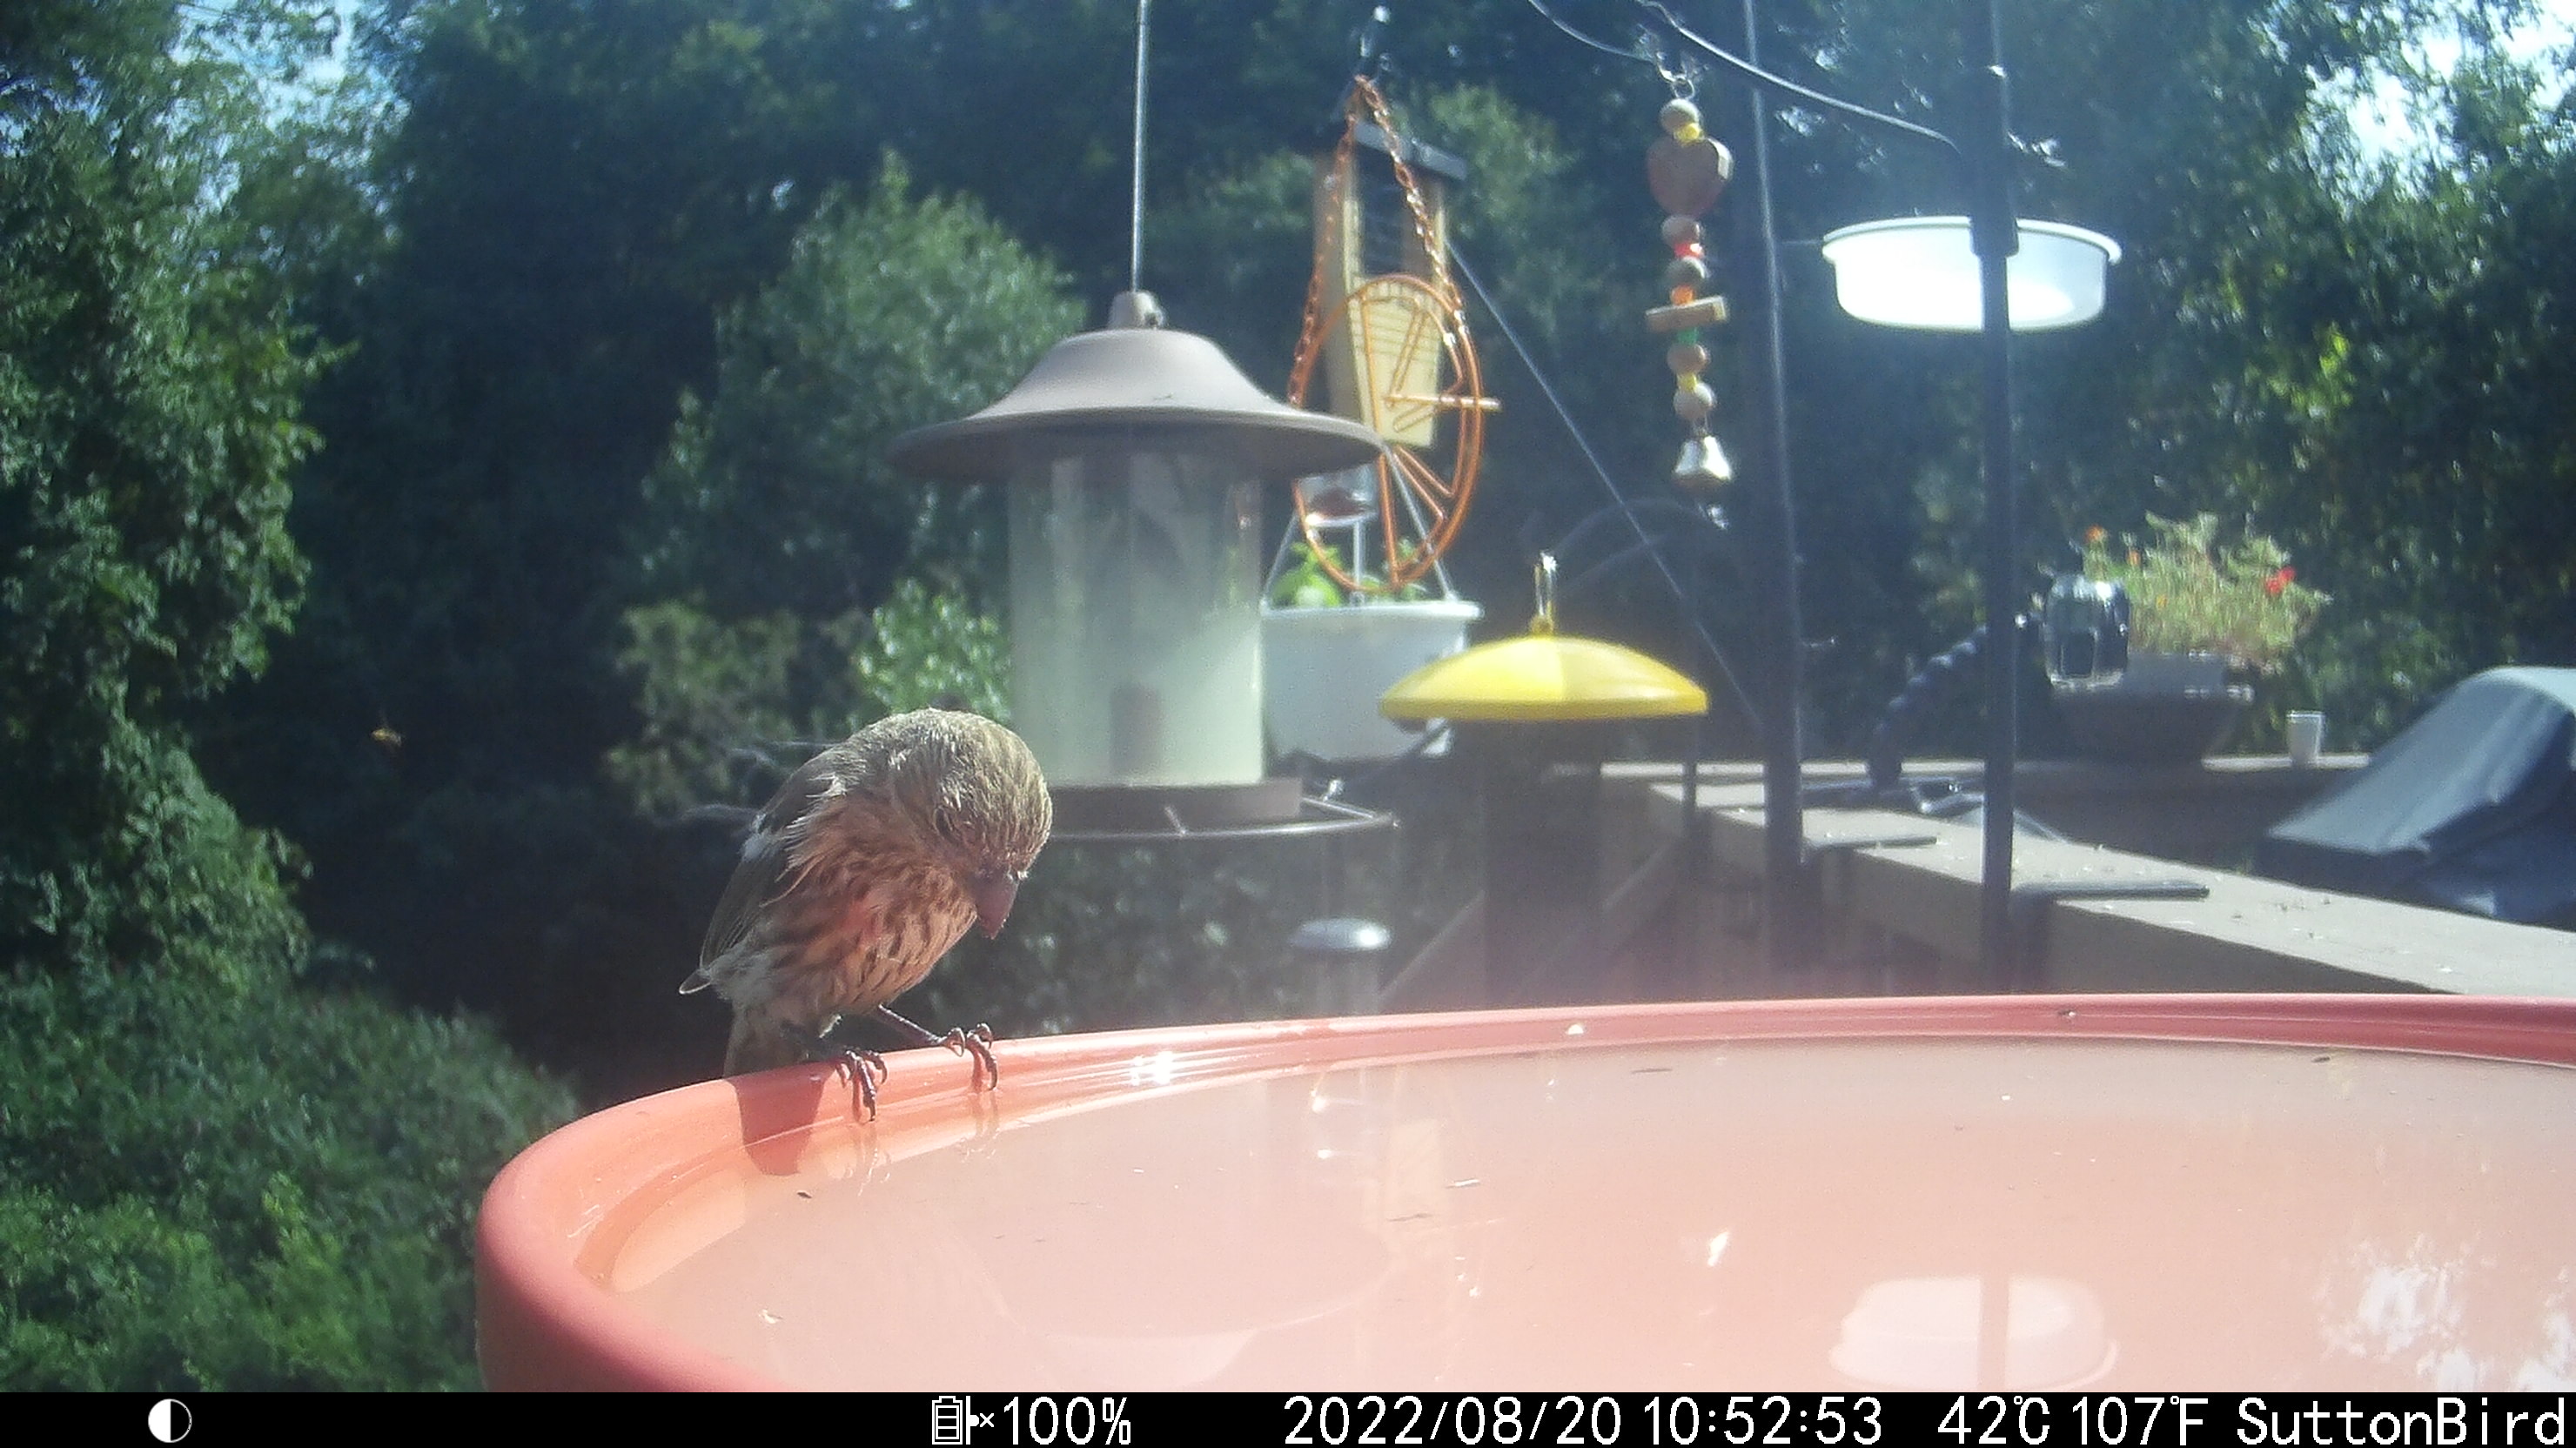
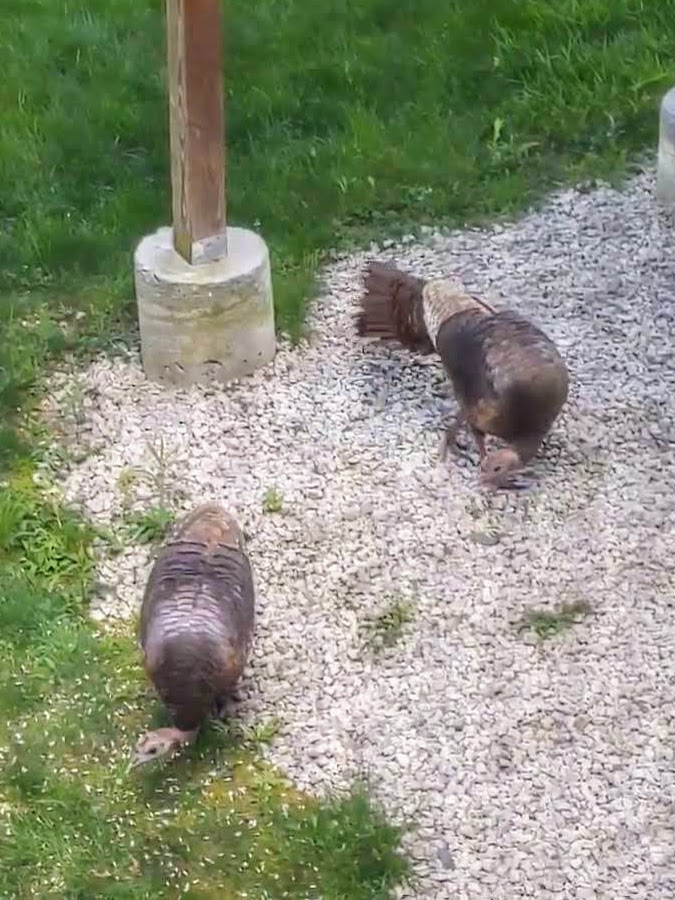
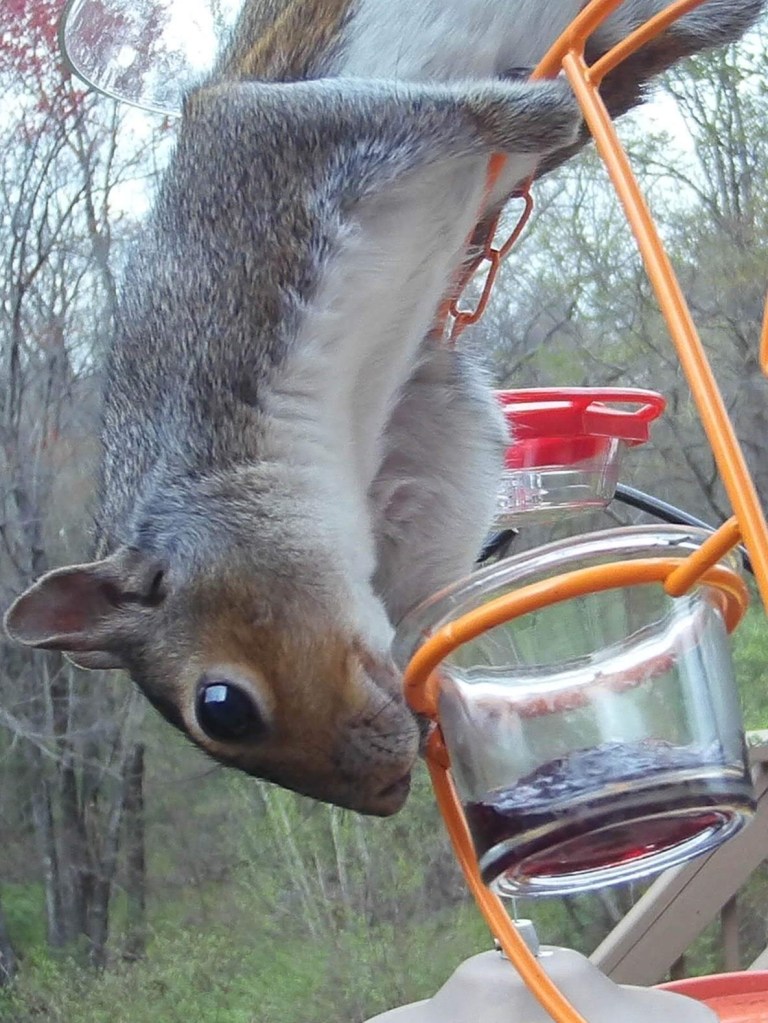
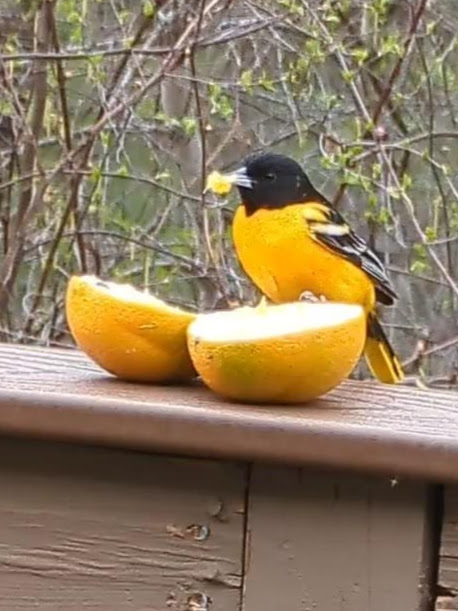
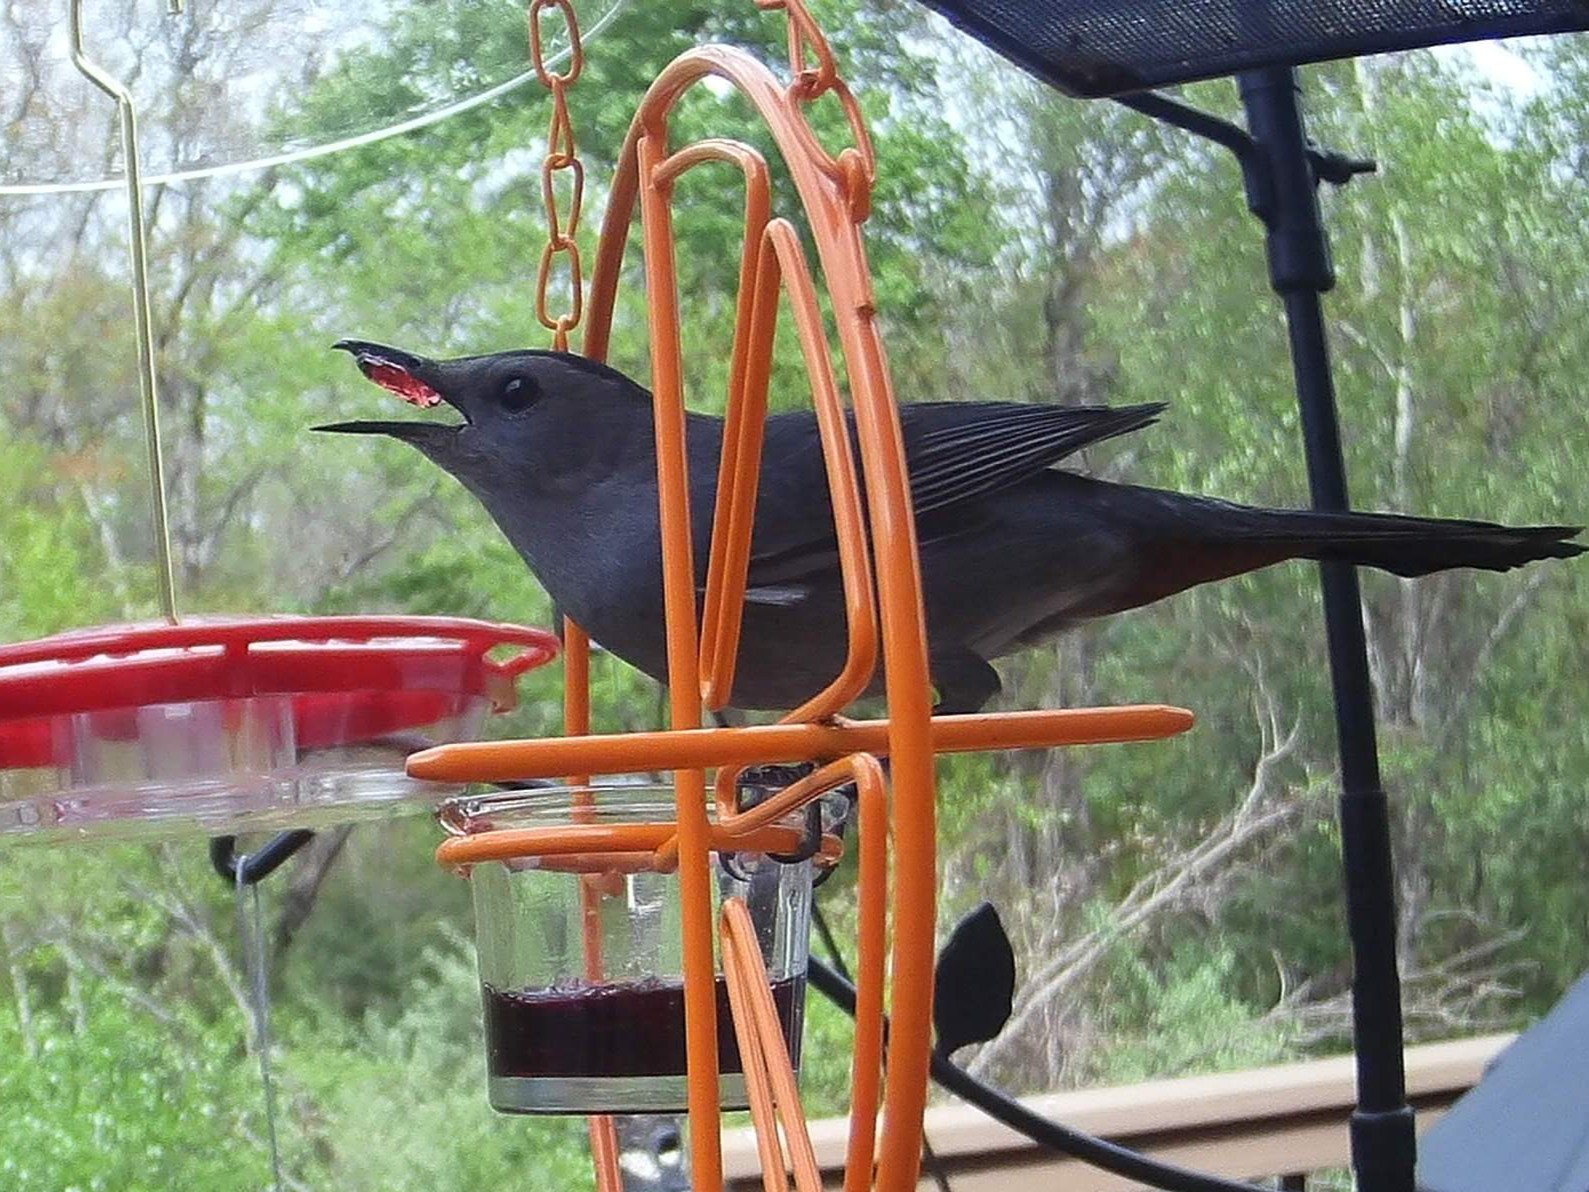
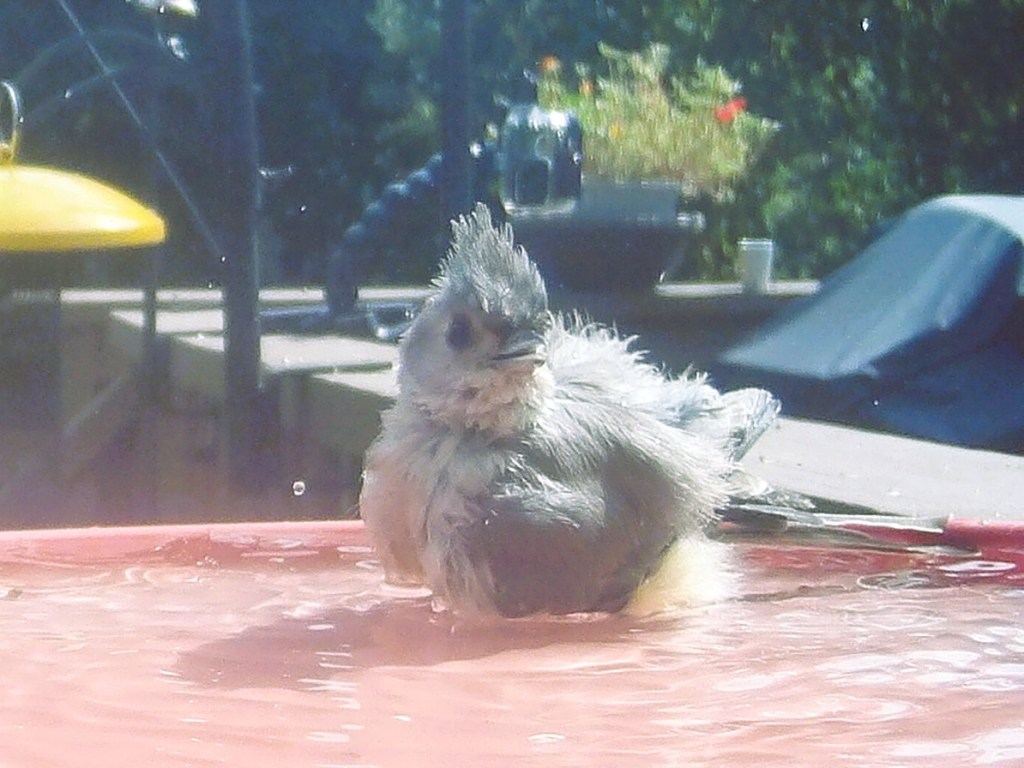
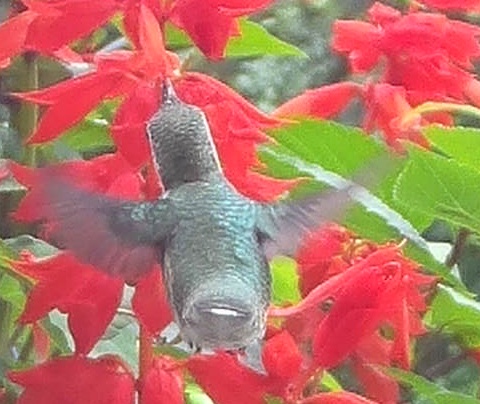
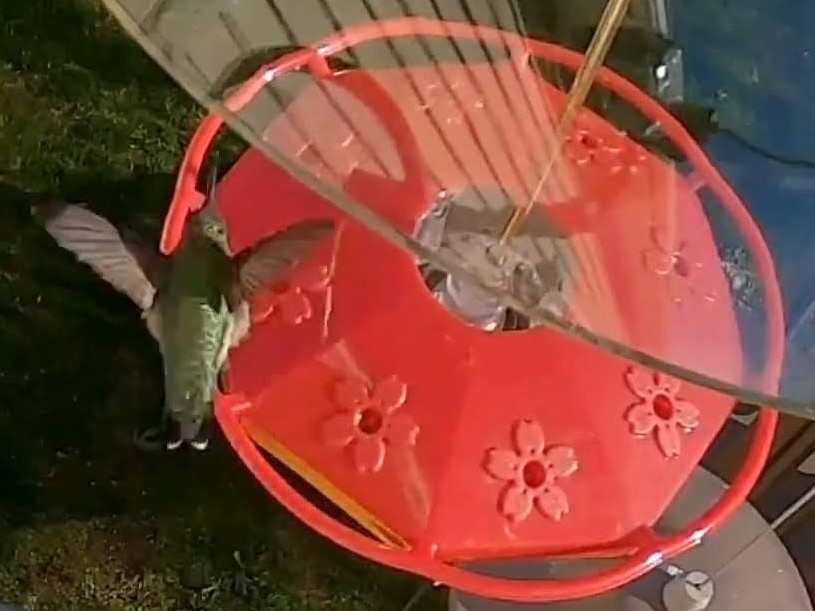
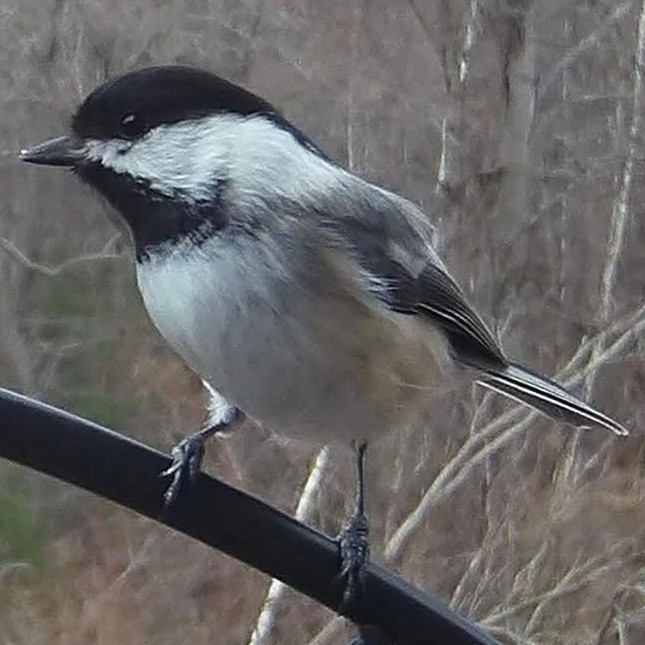
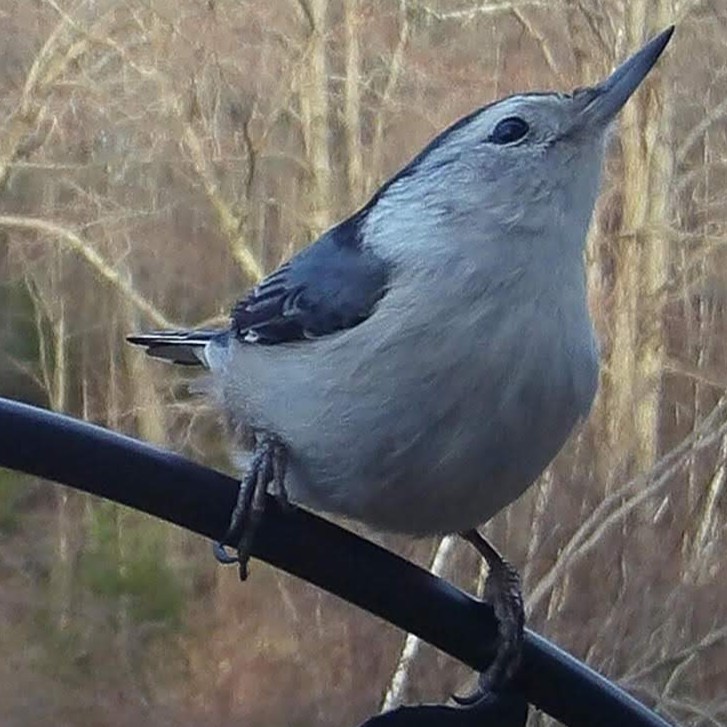
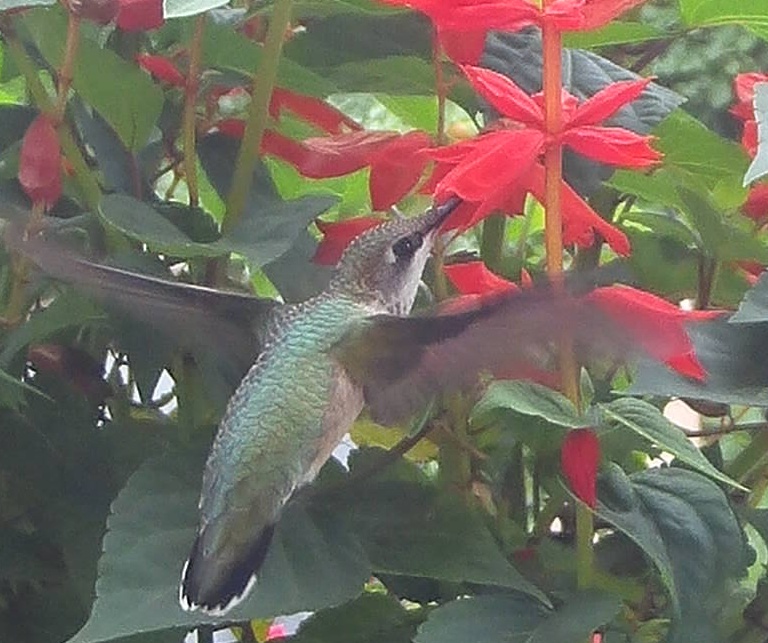
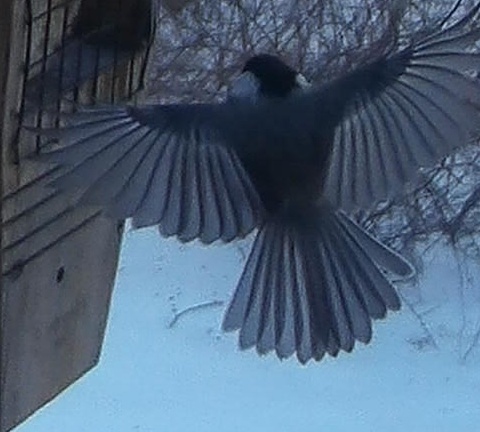
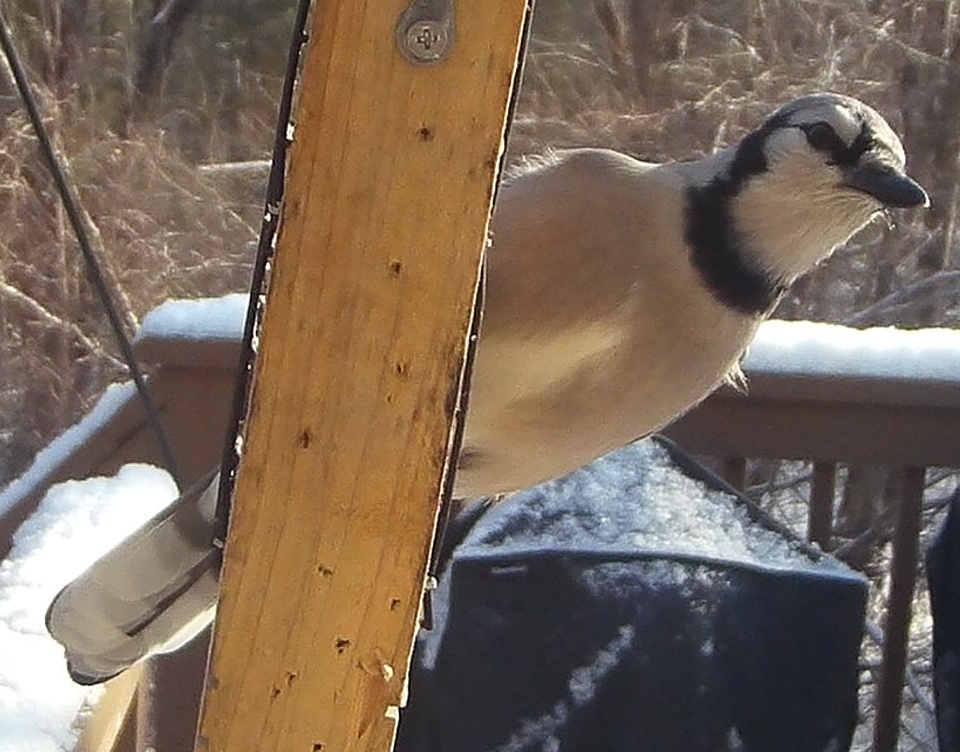
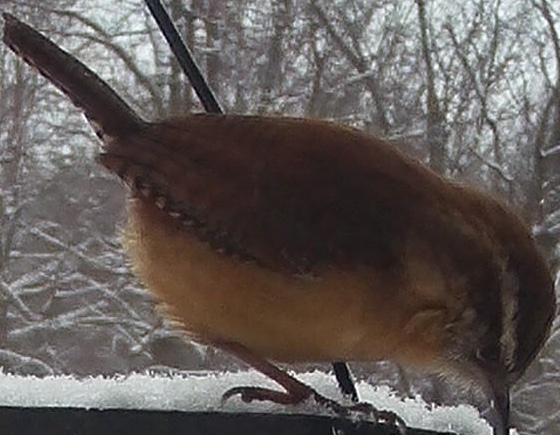
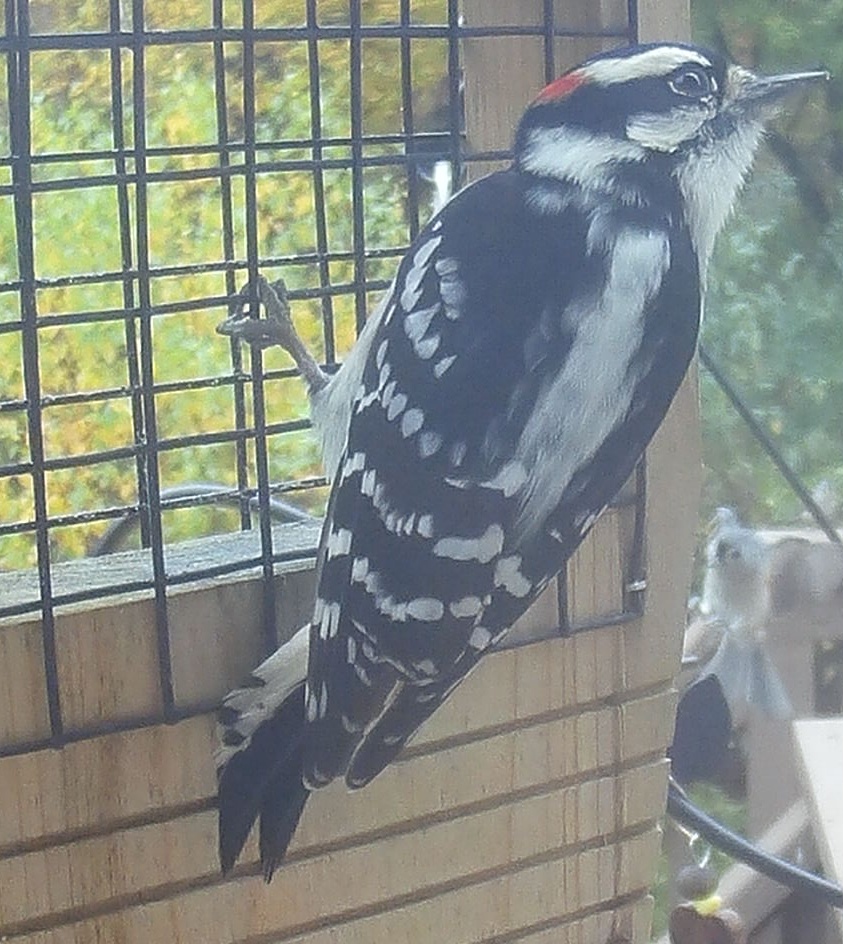
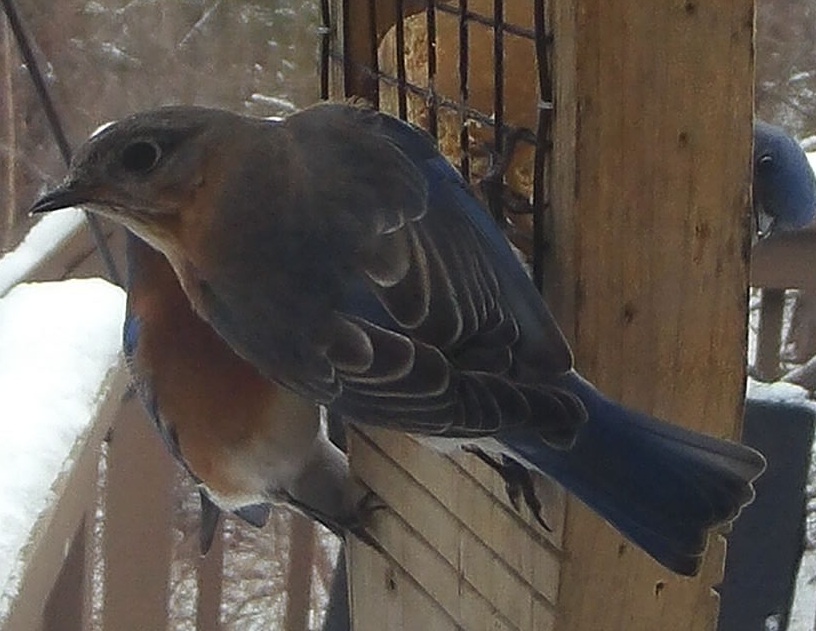
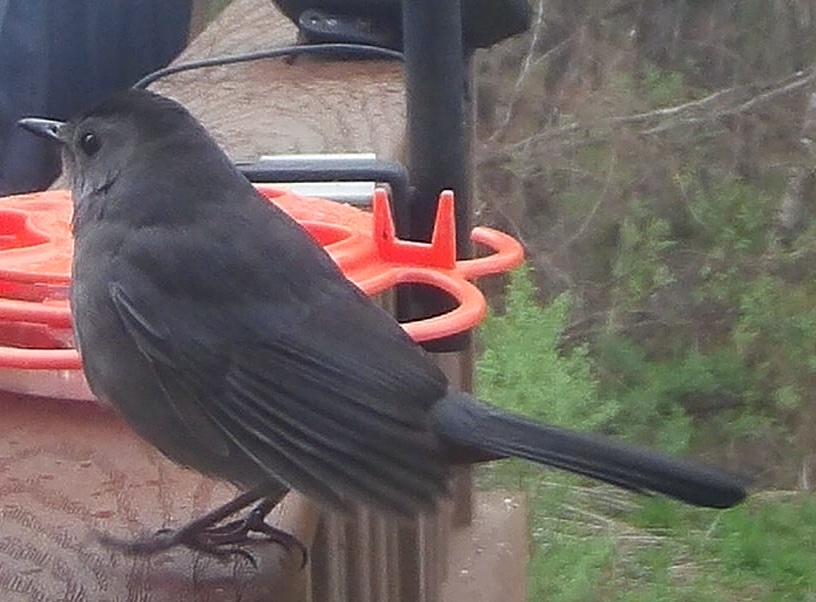
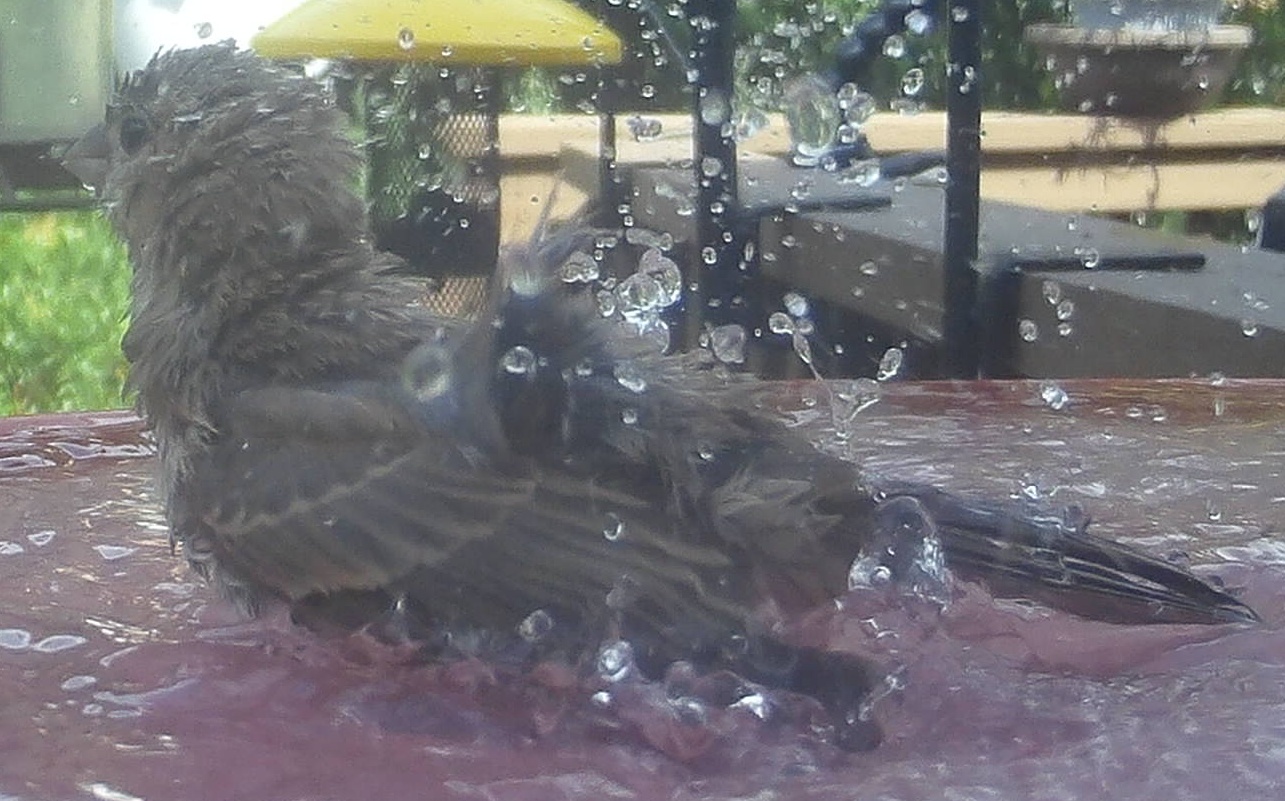
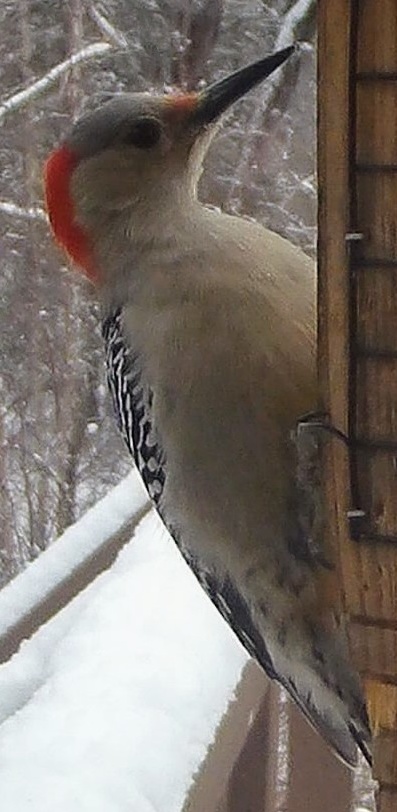
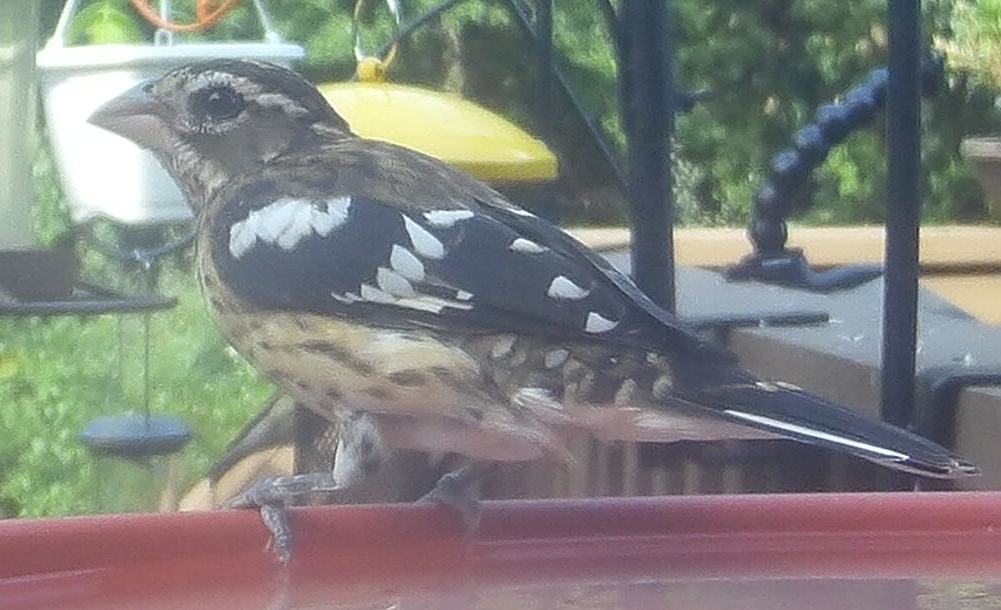
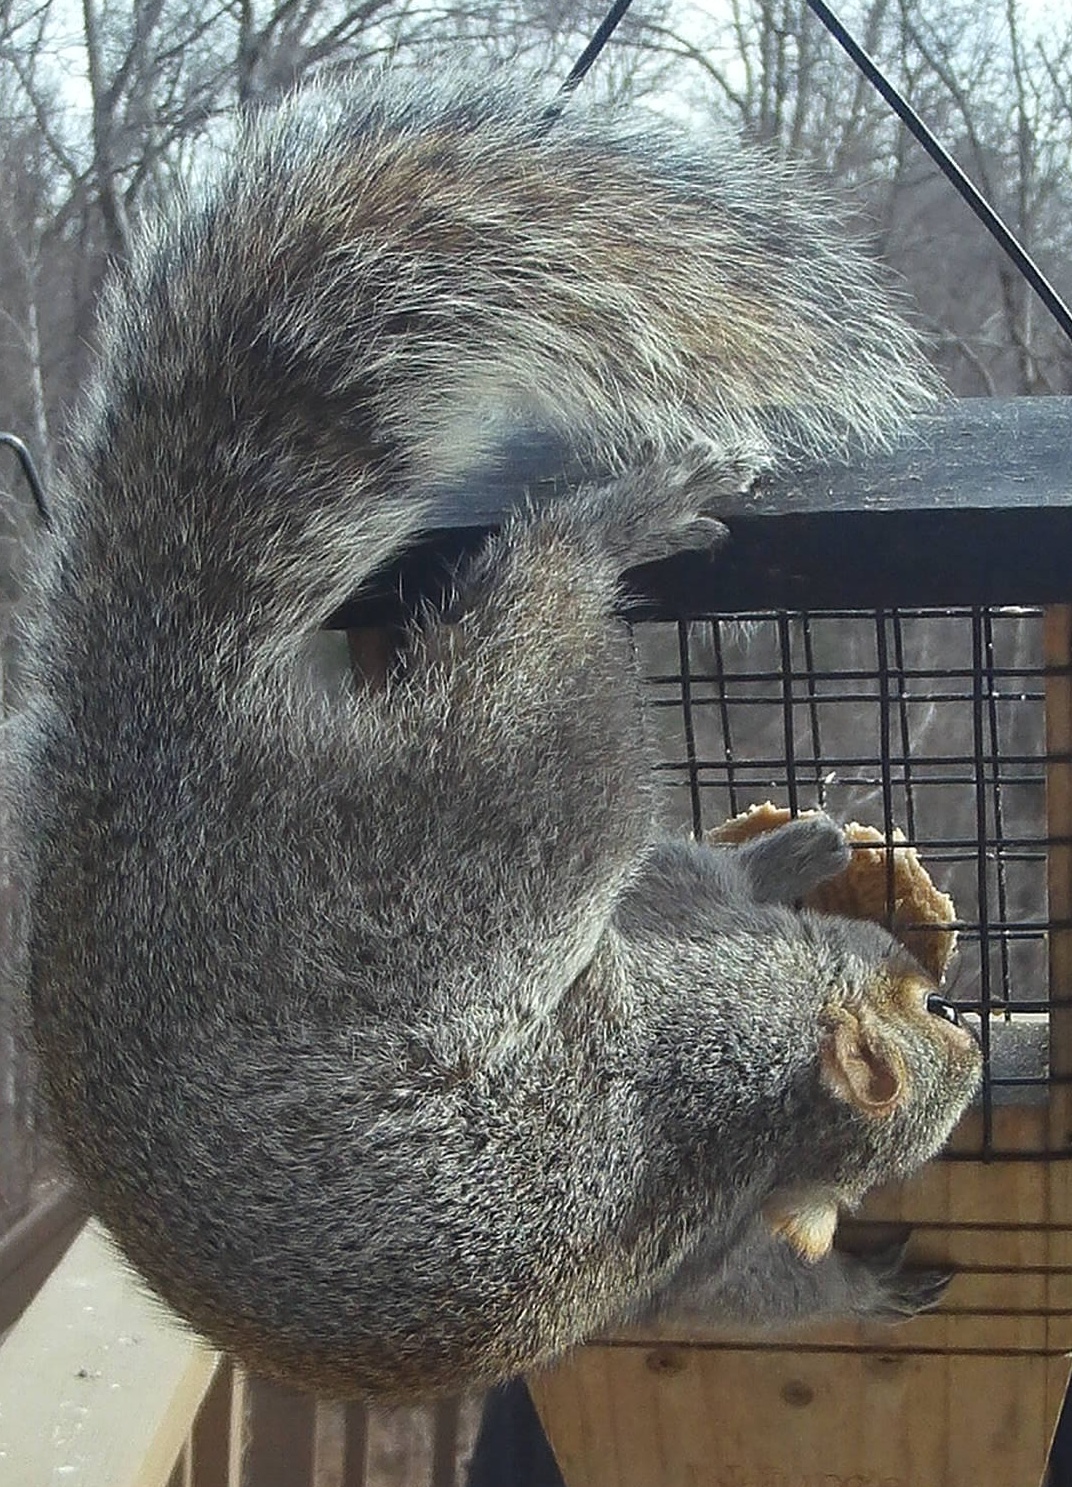
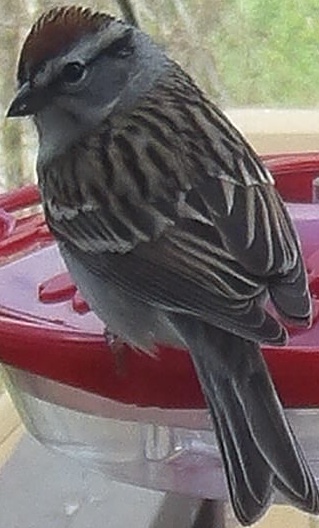
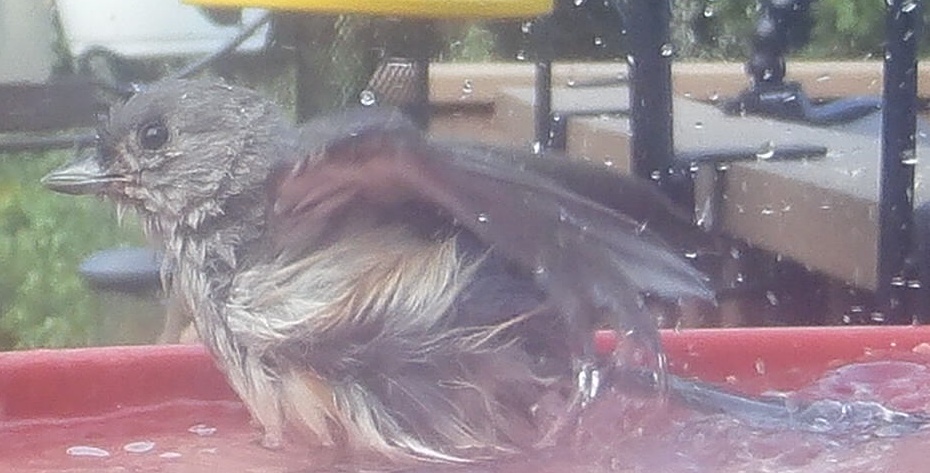
    For now, I’ll leave you with some of my favorite captures.

    Previous post: Custom detection and classification

  • At the end of last week’s post, I mentioned that I had spent significant time on compiling training data for bird classification. I used that dataset to train a classification model – just to see how it went. ChatGPT provided code to add random transformations to the images, load a pre-trained EfficientNet model, and optimize it using my labeled data. The result was pretty good at classifying Tufted Titmice and Black-capped Chickadees. Solid Win!

    This was when I put the project on hold. Collecting detection data from images I had already processed felt like starting at the base of the mountain again. After procrastinating for a three months, I thought I’d struggle to pick up where I left off. But since ChatGPT still had the whole thread in its memory bank, it brought me back to speed in no time at all.

    Screenshot of user-interface showing detected and classified birds.
    Boxes are color coded – yellow is pending, red is selected.

    This phase of development – developing a streamlined way to collect data for bird detection – focused mainly on buidling a user interface (UI). Always looking for shortcuts, I asked ChatGPT to layer new code onto existing code. And this change broke everything. I debugged using breakpoints and making slight modifications to my prompts to ChatGPT. And yet, it kept returning the same code and insisting it should work. Two hours later, I found the missing semi-colon. Just kidding, the problem was how we were using cv2.waitkey()

    By layering the new features on top of the old ones, we had accidentally introduced two nested steps, each waiting for keyboard input. When the user responded to the second waitkey() step, the code would jump to the outer loop instead of continuing where it should have. Aha! It seems I can’t run two waitkey() calls in parallel. It makes sense now that I think about it. ChatGPT couldn’t fix the problem because it hadn’t introduced it – it was the combination of my prompt asking for layering and the way waitkey() behaves.

    We needed a clean, integrated solution. I sketched out a rough user flow and refined it as I thought of more edge cases. ChatGPT, for all its strength in machine learning, struggled with UI logic. It often left awkward dead ends or conflicting conditions. (I’m sure OpenAI’s working on it.) The final flowchart is below.

    Flowchart explaining how user interacts with each image to approve, correct or capture detections and classifications.

    Since I log what happens with each image – I can answer questions like how many detections were missed, and which classifications were correct. More on that next week.

    Previous post: Making progress in fits and spurts
    Next post: Where we are now

  • I still wanted to group similar images together first – after all, how many pictures of the same bird in the same pose do you need for a training set? And wouldn’t it be easier to remove all the images with no birds first?

    ChatGPT recommended using pHash (perceptual Hash) and SSIM (structural similarity index measure) for image grouping. I had no idea what these were – it wouldn’t be vibe-coding if I knew what I was doing. It wasn’t long before I was pulling my hair out in frustration. Just like the free software I’d used earlier, it grouped nearly all the photos into one folder 🤔. I tried tweaking a few parameters to change the sensitivity, but no luck. This wasn’t going to work on vibes alone – I was going to have to read up on what I was doing.

    A glance at the Wikipedia pages for pHash and SSIM gave me some insight. When I said I wanted to group similar images, I meant photos of the same bird in the same spot. However, that’s not what “similar” means to a computer. The algorithm we* were using grouped images based on high-frequency components. In other words, it prioritized edges (especially those that occupied a larger fraction of pixels) while ignoring low-frequency details like a birds’ color, size or beak-shape. No wonder then, that it dumped all the birdbath photos into a single folder.

    Realizing my blunder, I pitched its own idea back to ChatGPT: could the program detect where the bird was in an image, and then let me provide a label so that it could be sorted into the correct folder? Turns out, yes.

    ChatGPT wrote up some code using YOLOv8n, a convolutional neural network pre-trained to detect birds. It would crop the detected bird, prompt me for a label, and then save the cropped image in the appropriate folder. It worked fairly well, detecting about a third of the birds in the images I provided, but struggled in some specific cases.

    For example, it just couldn’t find hummingbirds.

    ChatGPT really likes the comic book format.

    I guessed that it was struggling to see the green of the hummingbird against the green of the leaves. ChatGPT added some image processing: boosting contrast, applying a color space transformation and edge enhancement. This brought detection closer to 50%, but it also increased false positives. And still no luck with the hummingbirds. My new hunch was that the pre-trained model didn’t see hummingbirds because they didn’t have the typical bird “shape”. I would need to improve the detector to get better results, which meant creating a labeled training set was now even more important.

    At the time, I still hadn’t fully separated detection and classification into two separate steps in my head. So I forged ahead manually, labeling birds in about 500 images… before I realized that I’d have to create a completely different training dataset for a custom model for bird detection. D’oh!

    *Again, I know ChatGPT isn’t a person. It just feels weird taking 100% of the credit for this thing when it did so much of the heavy lifting.

    Previous post: Using ChatGPT to come up with a plan
    Next post: Custom detection and classification

  • Once the birds discover the free buffet, they make the most of it. Chickadees and titmice bounce back and forth between the feeder and nearby trees, transferring one seed at a time. I’ve seen cardinals and grosbeaks lounge at the feeder for hours. With the camera set to take a photo every time its passive infrared (PIR) sensors are triggered, I’d collect hundreds of images each day – often of the same bird in slightly different poses. I’d usually keep only the best one or two. Manually sorting through this avian version of America’s Next Top Model was exhausting.

    I wanted a way to automatically group similar images, then choose the best ones from each set. I tried a free software for removing duplicate photos, but it lumped 80% of the pictures into a single group. Since it couldn’t tell birds apart, I’d still need to manually filter for rare snaps, like those of the Baltimore Oriole. This wasn’t going to work.

    This was my first prompt within ChatGPT*:

    I have downloaded a bunch of pictures from a trail cam into a folder on my computer. I would like to go through these pictures and sort them using some python code. First - I need the pictures sorted into folders by type of bird - if there are no birds, it should go into the folder "None" and if there are multiple birds it should go in the folder "Multi". Then within each folder, I need the photos grouped by similarity so that when there are several similar images, I can pick the best image and reject the rest. What other information would you need to help me write this code?

    Its response completely restructured the problem, splitting it into three stages: bird detection, bird classification, and sorting. As I probed further, it gave me options and sorted them by difficulty, explaining the pros and cons of each.

    1. Easy – use a Pre-trained API. 
    2. Medium – using a pre-trained model locally on my computer. 
    3. Difficult – train my own custom neural network. This would need a good set of training data, and then the time and expertise required to train the model. 

    It felt like a different language – what on earth were APIs and how was I supposed to choose one? I wanted to see how far I could get relying on ChatGPT only. I decided against Option 1 since I didn’t want to send my images to an external service over the internet. There were also (minor) costs and limits associated with using APIs. Option 3 was off the table as I didn’t have much of a training set. Option 2 seemed like the sweet spot.

    Ever supportive, ChatGPT suggested using YOLOv8 for detection, MobileNet/EfficientNet for classification and provided the necessary code. Taking a closer look at the imagenet_classes (database of annotated images used in computer vision) file it had me download, I saw that the list included everything from tiger_shark to forklift. It seemed too broad, and not specific to birds or even wildlife. I had a sinking feeling that I would end up stuck if I went down this path. I shared my concerns with ChatGPT, and it deftly redirected me to Option 3 – producing the required code before I could change my mind. We* went back and forth before ChatGPT understood that I had no training set, and I understood what a good one would look like.

    Image credit: ChatGPT.
    For what it’s worth, at the time of writing it doesn’t understand images. Just look at that speech bubble in the second panel. My glasses seem to have disappeared too. And why is a ChatGPT cloud hovering over my head?

    I was feeling overwhelmed. I needed to go slower and break this into smaller steps. Perhaps it would be better to focus on building my own training set. How good was this pre-trained model anyway?

    *I do in my writing refer to ChatGPT as if it’s a person. Since this is the internet I feel the need to clarify that I understand that ChatGPT, is in fact, not a person.

    Previous post: Attracting good models – wildlife edition
    Next post: Making progress in fits and spurts

  • It’s easy to attract wildlife to one’s backyard. Some might say the greater challenge is keeping it out. When I started birdfeeding, I put up a single feeder with some generic bird food. Over time, I learned not only how to attract different species, but also how to do it responsibly. If these posts inspire someone to take up bird feeding, I want them to know how to do it safely.

    Image: Whose cleaning up under your bird feeders? I have wild turkeys on my clean-up crew.

    Stay informed. Use the Merlin app to become familiar with the birds in your neighborhood. Record some birdsong and the app will let you know which birds are nearby in real time. Just watch out for mockingbirds – AI can’t detect mimicks (yet).

    Sign up for updates from your local Audubon chapter. They provide warnings if feeders need to be taken down to prevent the spread of disease.

    The bird migration tracker has made March’s mood swings more tolerable.

    Stay safe. Keep bird feeders 4-6 ft away from windows, or use decals to prevent window strikes. More than a billion birds die in the United States each year from internal injuries related to flying into windows.

    Image: Squirrels don’t know they’re not supposed to eat grape jelly.

    Feeders should be cleaned once every 7-14 days. Since they bring birds into close contact, feeders can quickly spread disease through a local population.

    Hummingbird feeders are a necessary source of food but they need to be meticulously maintained. Birds can and do get sick from contaminated nectar. The nectar should be changed every few days, and daily in hot weather. Avoid glass feeders that are hard to clean or heat up in the sun. To keep ants away invest in an ant-moat. Dish-shaped feeders attract fewer bees and wasps.

    A cage suet-feeder provides high fat fuel in winter. Put these away when it gets warm. Melted fat can coat bird feathers damaging their natural insulative properties and make it impossible for them to fly.

    Tufted titmouse with some suet

    Experiment. Different feed attracts different birds. Recently, I have switched to growing nectaring flowers like zinnia and salvia to reduce the risk of accidentally serving moldy nectar. A number of these plants can be grown in containers in limited space. Native species like Columbine and Cardinal flower are ideal – they support the local ecosystem and thrive with minimal maintenance.

    Sunflower seed is the gold standard for attracting songbirds. However, in my experience the squirrels eat it all before the birds get a chance. I switched to safflower seed which the squirrels don’t love nearly as much.

    Grape-jelly and orange halves are loved by catbirds, orioles, raccoons and my neighborhood squirrels. Alternatively, plant some native berry-producing shrubs like elderberry or blueberry.

    Mixed birdfood sometimes contains ingredients like millet and cracked corn that can attract more aggressive birds like starlings and grackles.

    Birds need water too! Keep it shallow – no more than 1-2” deep, or add rocks to prevent birds from accidentally drowning. A heated bird bath in the winter may be the only available source of water for some birds. If you’re craftsy, there’s a lot of DIY solar fountain bird bath tutorials online.

    Tufted titmouse cooling off on a hot day

    Previous post: Choosing a camera
    Next post: Using ChatGPT to come up with a plan

  • The $86 trail camera that I purchased four years ago has been the best hobby investment I’ve ever made. It has weathered temperatures below -20°F, blazing sun and New England rain. Yet it continues to work as well as it did on Day One. It has even survived a woodpecker checking it for food. Eight AA batteries can keep it running for 4-6 weeks easily. With an additional investment of $20 for a solar panel to keep it powered, this thing is nearly indestructible. 

    The built-in Passive Infrared (PIR) sensors are perfect for detecting wildlife moving in and out of the frame. The 850nm LEDs provide crisp night-time images. While night vision is not required for birdwatching, it’s the only way I would have discovered that a raccoon was eating the grape jelly I put out for the orioles. Or known about that one time a barn owl stopped by to take a look around.

    My only complaint is the image transfer process. To access the images I need an Android app that will not let me select and transfer all the images in one go. I could go outside and recover the SD card, but where’s the fun in that? I should also mention that there are now several commercially available options that are reasonably priced. These have food trays close to the camera to get up-close images of the birds, and built in AI models that identify the birds and send you a notification. While accessing images and videos might be easier with these devices, I don’t think they provide the freedom of customization that I get from keeping the data local.

    Image quality

    By default, the trail camera is set to focus on objects more than 20 ft away. After all, the device is intended to capture images of large animals like deer. To use the camera for early detection of migrating hummingbirds, I needed to find a way to focus on small objects close to the camera.

    This proved to be a relatively simple exercise. Taking the camera apart, I found the fixed-focus lens that sets the focusing distance. Using a bit of force and carefully prying away the glue that holds it in place, this lens became adjustable. I found that setting the focal plane two to three feet away from the camera was the sweet spot. Any closer, and the PIR sensors went off every time the wind moved the bird feeder.

    By adjusting the focus, the tiny birds now take up a larger fraction of the image – dramatically increasing the number of pixels per bird. Image quality is now limited by the resolution of the sensor. When I bought my camera, the standard was 2MP. Newer trail cams have smaller pixels. Although trail cameras are often advertised as having 10MP or higher resolution, it is sometimes obtained through interpolation rather than true sensor resolution. In my opinion, you’re better off saving memory space to store more images. Finding information about the actual number and size of the pixels on the sensor can require a little sleuthing.

    The other thing to consider is the exposure time or shutter speed. Since these cameras are intended to take images in low-light conditions, the minimum exposure time is about 100 milliseconds. This is not even close to what is needed to capture a clear image of hummingbird wings which flap at 80-200 times per second. Below is a comparison of the typical bird wing photos I could get with a trail camera vs. an action camera like the GoPro. For the GoPro – I extracted a frame from a slow-motion video.

    Previous post: Bird image sorting – how it started
    Next post: Attracting good models – wildlife edition

  • In 2020 and then in 2022, AJ and I adopted our two kittens – Kitkat and Moochie. We’d just moved into our first real home, and the back porch overlooked a natural area with tall trees and constant bird song. To keep the kitties entertained while we spent our days at work, I set up a couple of bird feeders on our back deck. 

    Since then, the endless variety of birds (and other wildlife) visiting us has been an immense source of joy and wonder for both me and our feline friends.

    Kitkat, Moochie and a very brave squirrel.

    While the cats fantasized about pouncing on the birds, I set up a cheap trail camera to capture images. It wasn’t long before I found myself going down a deep rabbit-hole of ornithology, photography, and the struggles of managing large quantities of images. 

    Once I had the camera settings dialed in, I found myself sorting through hundreds of photos every night. Some were amazing, but most were repetitive or devoid of any birds. I started looking into Machine Vision and Neural Networks as ways to automatically sort through the photos. I even audited a few lectures from MOOCs – but trying to implement something from scratch felt overwhelming. 

    Fortunately, the universe rewarded my commitment to procrastination. While hard-working trailblazers developed LLMs and Machine Vision models, I spent my time learning about different birds, adding plants they love and manually sorting through oh-so-many images. 

    Female ruby-throated hummingbird sipping from a Salvia flower

    Recently, while experimenting with ChatGPT for an unrelated project, I discovered that it could produce surprisingly nifty code. Before long, I found myself vibe-coding – coding with only a surface-level understanding of what I was doing – towards my goal of automatically identifying the birds in my trail camera images. 

    The results have been far better than I imagined. ChatGPT’s guidance has saved me hundreds of hours of work (and many more hours of frustration). It has helped me choose models, explore different approaches and fine-tune settings. 

    I now have a “supervised learning” system: my computer can analyze an image to detect and classify birds, and I can add anything it misses back into the training data to continue to refine the model.

    A screenshot of my program in action.

    The next logical step was to document this experience and see if others have suggestions to make this system even better. For now, if ChatGPT recommends a particular model, I roll with it because I don’t know any better. I’m interested in learning about better algorithms and models.  I also know I’m limited by my own bird identification skills, and any errors in my classification become a part of the training data and get carried through the system – so, I’d love to hear suggestions for better accuracy here. Finally, I’m curious to learn what kind of information scientists (academic or citizen) wish they could access. 

    If you’re interested in learning more, I’ll be posting (semi) weekly updates outlining what I learned along the way. Feel free to follow along and feel free to share your thoughts and suggestions. 

    Next post: Choosing a camera

  • I needed a place to document my personal projects—so here we are. I explore solutions to problems I encounter in my hobbies through creative uses of technology. Feel free to reach out with questions or suggestions using the links on the left.